Compare every deployment path on Self-host OpenQuok — hosted cloud plan, Docker Compose, or production deployment on your own cloud stack.
Why self-host a social scheduler at all?
Most social tools want a long-lived API key sitting next to your AI agent. That works for demos. It is a bad fit for a homelab or private network where Telegram bots, OpenClaw hosts, and CI share the same secrets file.
OpenQuok is an open-source, agent-native scheduler: agents draft, you review and approve, then posts go out to connected channels. You can run the full stack yourself with Docker Compose. We also include a small CLI auth server so device login never embeds the OAuth client secret in the CLI.
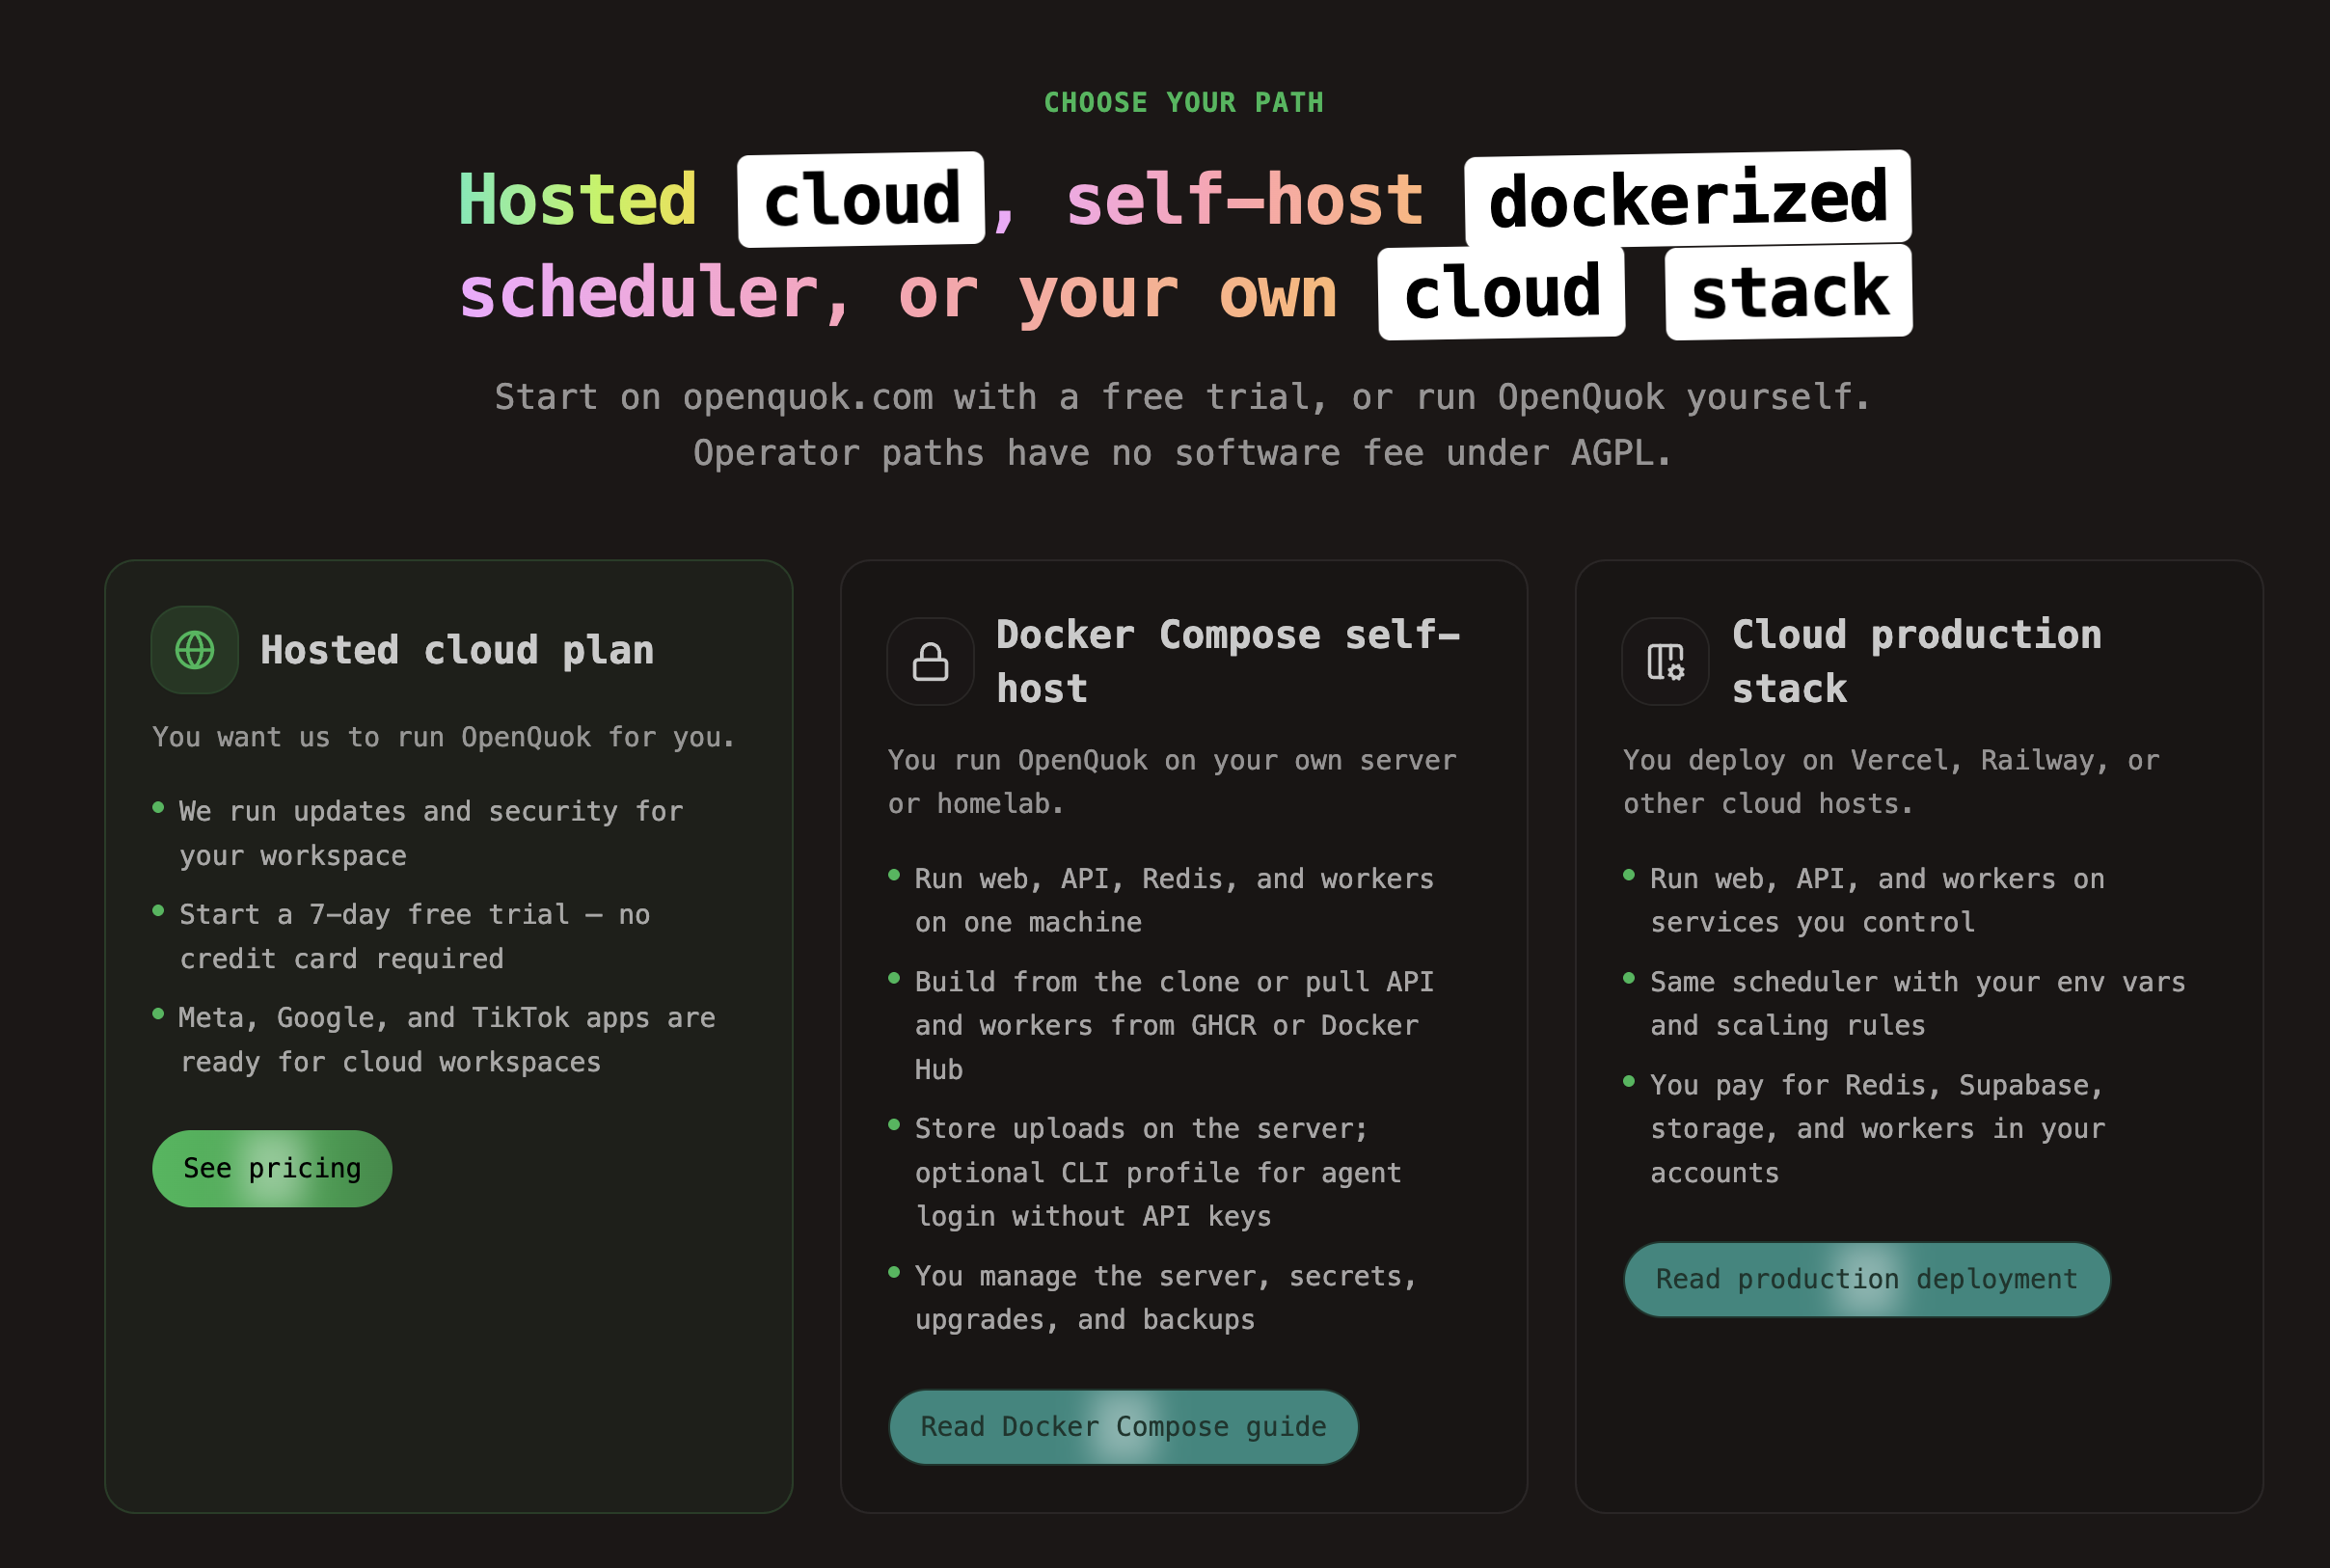
This guide covers the Docker Compose self-host path, device login instead of API keys, local media storage, what you operate, and what it roughly costs per month. For the full operator overview (all three paths), start at Self-host OpenQuok.
OpenQuok is open source under AGPL-3.0. The monorepo on GitHub is where we ship the web app, API, CLI, MCP tooling, and the infra/self-host/ Compose stack this guide uses. If self-hosting with device login saved you from parking API keys on an agent host, star the repository—it helps other operators discover the project and tells us what to prioritize next.
Star openquok-monorepo on GitHub
What you will run
The Compose stack under infra/self-host/ brings up:
web — UI
api — backend
redis — cache and BullMQ
three workers — token refresh, email jobs, scheduled social posts
optional
postgres+agent-serverwith--profile clifor device-flow auth
You provide Supabase (cloud free tier or supabase start). Media defaults to local disk via STORAGE_PROVIDER=local — files live under UPLOAD_DIRECTORY and are served at /uploads/*. No object storage is required for a single-machine deploy.
Full bring-up: Self-host — Docker Compose. Hardware floors: System requirements (about 2 CPU / 8 GB RAM / 20 GB free). If you prefer to split web, API, and workers across Vercel or Railway instead of one Compose host, see Production deployment.
Step 1: Bring the stack up
From the repo root:
cp infra/self-host/.env.example infra/self-host/.env
# fill Supabase keys + SECURITY_SECRET
docker compose -f infra/self-host/docker-compose.yml up --build
Open the UI at http://localhost:4007. Self-host defaults turn email and Stripe off so you can sign up without a verify inbox or billing paywall.
For device login, also start the CLI profile:
docker compose -f infra/self-host/docker-compose.yml --profile cli up --buildRegister an OAuth app with redirect http://localhost:3111/device/callback (or your production callback) and fill the OPENQUOK_OAUTH_* fields. Details: Configuration — Agent and Admin — OAuth apps.
Step 2: Prefer device login over API keys on the agent
The CLI supports two auth modes. For agents and SSH hosts, use OAuth2 device flow:
openquok auth:login
# or over SSH / headless:
openquok auth:login --json
Open the verification link on your phone, pick a workspace, authorize. Credentials land in ~/.openquok/credentials.json. The OAuth client secret stays on the auth server — not in OpenClaw env, not in the CLI binary.
Point a self-hosted auth origin when needed:
export OPENQUOK_AUTH_SERVER="https://auth.example.com"
export OPENQUOK_API_URL="https://api.example.com"
openquok auth:login
Programmatic OPENQUOK_API_KEY remains available for CI. Day-to-day agent use should not require a long-lived key in the agent host. Guide: CLI authentication.
Step 3: Keep media on local disk (or graduate later)
Default self-host storage is local. That matches how many operators want media ownership — on their volume, not a third-party bucket.
When you outgrow disk, switch to Cloudflare R2 with the same API surface: R2 or local storage.
Step 4: Connect an agent (OpenClaw is model-agnostic)
OpenQuok does not lock you to one LLM. OpenClaw (or Hermes / MCP clients) picks the chat model; OpenQuok is the schedule, review, and publish layer.
Install the openquok-core skill on the OpenClaw host, authenticate with device login, then draft from chat and approve in the OpenQuok kanban or calendar. Setup: OpenClaw agent guide. Assemble the skill in Skill Builder if you prefer a custom zip.
What it costs per month (solo operator)
USD ballpark. LLM spend is separate and usually dominates.
VPS 4–8 GB — about $6–18/mo
Homelab power (existing mini PC) — about $3–8/mo instead of a VPS
Supabase — $0–25 (free tier often enough early; or self-host)
Redis / API / web / workers — $0 inside Compose
Local media volume — $0 (your disk)
Optional R2 — $0–5 if you leave local storage
Domain + TLS — about $1 amortized
Honest total for a few channels: often ~$10–25/mo on a small VPS + Supabase free, or power-only on hardware you already run. OpenQuok charges no software fee when you self-host under AGPL-3.0-or-later — see Self-host OpenQuok for how that compares to a hosted cloud plan.
Security notes for self-hosters
Compose defaults target trusted LAN / localhost (
NOT_SECURED=true, open registration when email is off). Do not expose raw ports on a public VPS without TLS and a firewall.Prefer device login so agent hosts do not hold long-lived API keys.
Self-host the auth server when you want the OAuth client secret and device-flow Postgres fully under your control. Architecture: Auth server architecture.
Read operator responsibilities on the self-hosting overview before you open registration on the internet.
Next steps
Start on hosted OpenQuok if you want the same workflow without running Compose