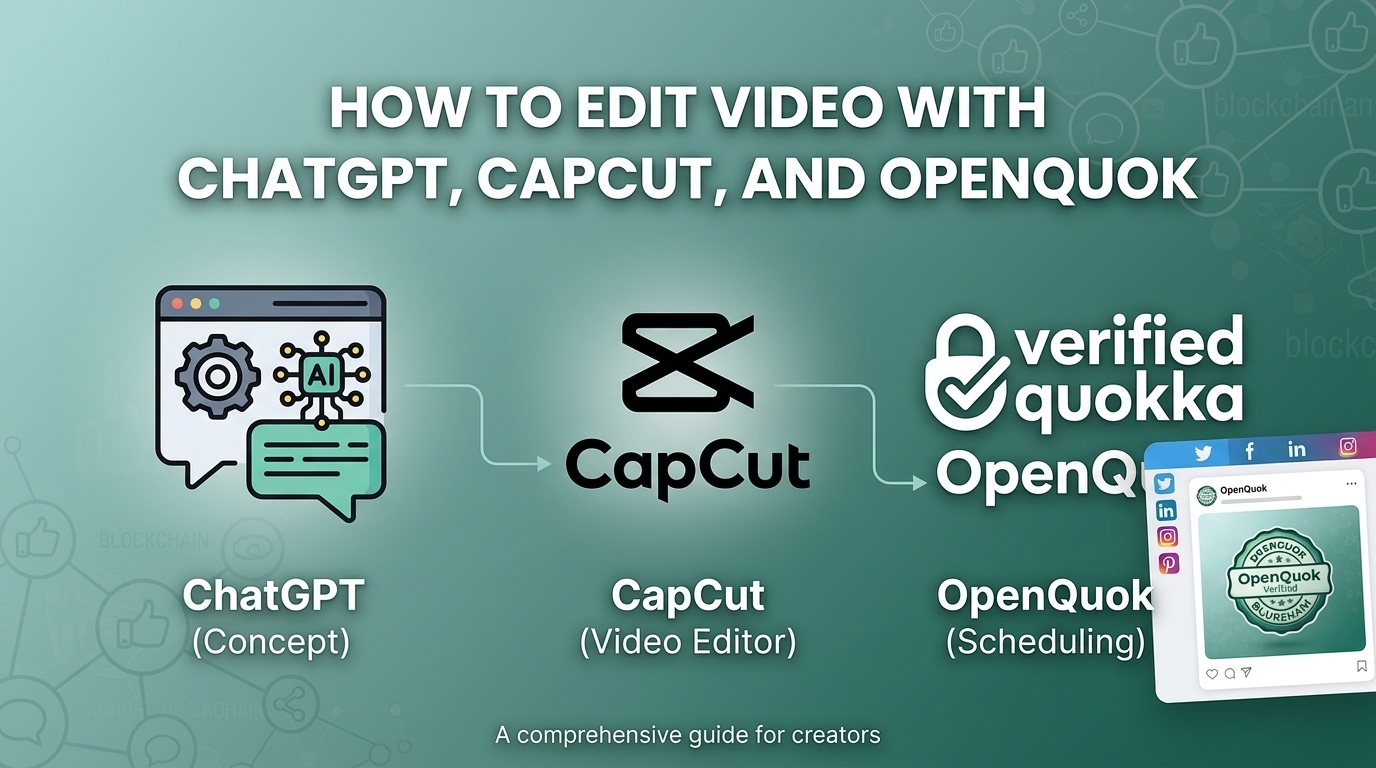
Most teams brief a video in ChatGPT, then bounce to CapCut, then bounce again into a scheduler. This guide is the same loop as the ChatGPT Video Edit & Publish playbook: brief in chat, edit with the Capcut Edit skill, then queue a draft with OpenQuok Core / OpenQuok MCP. You still export in the CapCut app and approve on the calendar before anything publishes.
To assemble openquok-core (and other building blocks) into one SKILL.md instead of zipping folders by hand, use Skill Builder. Preview the markdown, download it, then install it on Codex the same way you would a zip.
What each piece actually does
ChatGPT Chat — brief the video, write the caption, and (if the connector is on) call OpenQuok MCP tools. It does not run the CapCut CLI.
Codex (ChatGPT desktop or CLI) — this is where CapCut editing works. Codex can run
capcuton your Mac and load personal skills.Capcut Edit — a skill plus the local
capcutCLI. It rewrites the CapCut draft JSON. You still open CapCut to review and export the MP4.OpenQuok — MCP (or the openquok-core skill + CLI) uploads the file and creates a draft or scheduled post. You approve on the calendar or kanban.
Personal skills you upload on chatgpt.com do not sync to ChatGPT desktop. Plugin skills (documents-router, openai-templates) are not CapCut or OpenQuok. Add MCP and skills again on the surface you will use.
Install the building blocks
On an agent host or in a project folder (OpenClaw, Cursor, Codex — not ChatGPT Chat):
npx skills add https://github.com/Ratimon/openquok-monorepo/tree/main/agent --skill openquok-core -y
npx skills add https://github.com/renezander030/capcut-cli --skill capcut-edit -y
npm install -g @openquok/auto-cli@latest
npm install -g capcut-cli@latest
capcut doctor
That writes .agents/skills/openquok-core and .agents/skills/capcut-edit. Those folders are the skill packages. Do not zip .agents or the whole repo.
Prefer Skill Builder when you want one file that already includes OpenQuok Core workflow steps. For TikTok or Instagram recipes, start from the TikTok Skill Builder or Instagram Skill Builder, then export SKILL.md.
If capcut is missing after install, it may live only on one Node version (for example nvm 24). Run which capcut in a new terminal, then nvm use 24 or symlink the binary onto your PATH so Codex can find it.
Full command lists live on OpenQuok Core and Capcut Edit in the building-blocks catalog.
Path A — ChatGPT Chat: schedule with MCP (no CapCut CLI)
Use this when you already have an exported MP4 and want ChatGPT to queue it. ChatGPT Chat still needs the MCP connector for upload/schedule; Skill Builder only prepares the skill file for hosts that can run a CLI.
In OpenQuok go to Account → Settings → Developers → Access and create an
opo_token.ChatGPT (Plus or above) → Settings → Security and login → turn on Developer mode if you are adding a custom MCP app.
Settings → Connectors → add a custom connector. Paste:
https://api.openquok.com/mcp/opo_your_programmatic_tokenStart a new Chat with the connector enabled.
Verify:
List my connected social media accounts
ChatGPT should call integrationList. Then:
Upload this MP4 and draft it to TikTok and Instagram tomorrow at 9am. Do not publish. Leave it for me to approve.
Step-by-step connector UI: ChatGPT MCP setup and the ChatGPT landing page.
Optional — upload personal skills in ChatGPT
ChatGPT can also load a SKILL.md zip (Profile → Skills → Upload). Zip the skill folder, not .agents — or skip the curl and download from Skill Builder:
cd .agents/skills && zip -r ~/Desktop/openquok-core.zip openquok-core
cd .agents/skills && zip -r ~/Desktop/capcut-edit.zip capcut-edit
Or download + zip in one command:
curl -fsSL https://github.com/Ratimon/openquok-monorepo/archive/refs/heads/main.tar.gz \
  | tar -xz --strip-components=3 openquok-monorepo-main/agent/skills/openquok-core \
  && zip -r openquok-core.zip openquok-core

curl -fsSL https://github.com/renezander030/capcut-cli/archive/refs/heads/master.tar.gz \
  | tar -xz --strip-components=2 capcut-cli-master/skills/capcut-edit \
  && zip -r capcut-edit.zip capcut-edit
A skill in ChatGPT Chat is a playbook. openquok-core still wants the openquok CLI, which ChatGPT Chat does not have — keep the OpenQuok MCP connector on for real schedule/upload. capcut-edit still wants a local capcut binary, so video edits belong in Codex.
If a Chat session only lists plugin skills (documents-router, pdf-router, openai-templates), you are not in a thread that loaded your personal uploads. Re-upload on that surface, start a new chat, and type @openquok-core / @capcut-edit.
Path B — Codex: edit the video, then schedule
This is the playbook path that actually cuts video. Load the OpenQuok skill from Skill Builder (or npx skills add) so Codex has the CLI recipes before you ask it to queue the export.
1. Point Codex at OpenQuok MCP
In ChatGPT desktop, open Codex (not Chat) → Settings → MCP servers → Add server. Choose Streamable HTTP, name it openquok, URL:
https://api.openquok.com/mcp/opo_your_programmatic_tokenSave and Restart. Type /mcp and confirm openquok is connected. Desktop Codex, the Codex CLI, and the IDE extension share ~/.codex/config.toml:
[mcp_servers.openquok]
url = "https://api.openquok.com/mcp"
http_headers = { "Authorization" = "Bearer opo_your_programmatic_token" }
enabled = true
Do not put the token in bearer_token_env_var — that field is an environment variable name, not the opo_ secret. If the home config has enabled = false, desktop Codex will ignore a project copy. Details: Codex MCP setup and OpenAI’s MCP guide.
Install the CapCut skill for Codex:
npx skills add https://github.com/renezander030/capcut-cli --skill capcut-edit -a codex -y2. Close CapCut, then prompt Codex
If the project is open in the CapCut app, close it first so the CLI and the app do not overwrite each other.
Use capcut-edit. Run capcut doctor, then capcut quickstart launch-cut --video ./your-clip.mp4. Print capcut info and the path to open in CapCut.
For a 30-second short:
Use capcut-edit. Cut this video into a 30s vertical short. Add a title and a subscribe CTA. Lint the draft. Do not open CapCut until you print the project path.
Then open that draft in CapCut → Export. Automated publish to TikTok or Instagram is not the job of the CLI.
3. Queue the export in OpenQuok
Using OpenQuok MCP, upload ./export.mp4 and draft it to TikTok and Instagram tomorrow at 9am. Do not publish.
Approve the card on the OpenQuok calendar or kanban. If you want Codex to follow the same posts:create shape as Skill Builder, copy the example payload from the TikTok or Instagram builder before you prompt.
One prompt for the full playbook
In Codex (after CapCut CLI, capcut-edit, OpenQuok MCP, and a Skill Builder export or openquok-core install are on):
Follow capcut-edit and OpenQuok.
1. Edit ./hero.mp4 into a 30s vertical short with a title and CTA.
2. Tell me the CapCut draft path so I can export the MP4.
3. After I attach the export, draft it to TikTok and Instagram tomorrow at 9am.
4. Do not publish. Summarize what you queued for my approval.
What usually goes wrong
Chat vs Codex — Chat can schedule via MCP. Only Codex runs
capcut.Skills vs MCP — A zip or a Skill Builder export teaches the model the workflow. MCP (or the CLI) is what talks to your workspace.
Wrong zip — Upload
openquok-core/orcapcut-edit/(the folder that containsSKILL.md), not.agents.Desktop vs web — Personal skills and Chat connectors do not automatically appear in desktop Codex. Configure MCP under Codex → Settings → MCP servers.
capcut: command not foundin Codex — fix PATH so the same shell Codex uses can runcapcut --version.
Self-host OpenQuok instead of api.openquok.com
The same ChatGPT + CapCut + OpenQuok loop works on an instance you run yourself. Bring up API, web, Redis, and workers with Docker Compose, then point MCP and the CLI at your origin instead of https://api.openquok.com.
Full operator guide: Self-host with Docker Compose. Overview of install paths: Installation. MCP URL shapes: Getting started for MCP.
Bring the stack up
From the monorepo root (after you copy infra/self-host/.env.example to infra/self-host/.env and fill Supabase keys):
docker compose -f infra/self-host/docker-compose.yml up --buildWeb UI:
http://localhost:4007API:
http://localhost:3000MCP:
{BACKEND_DOMAIN_URL}/mcpor{BACKEND_DOMAIN_URL}/mcp/opo_your_token
Sign up on your UI, connect channels, then generate an opo_ token under Developers → Access on that instance — a cloud token will not authorize a self-hosted API.
Point ChatGPT, Codex, and the CLI at your API
Codex on the same Mac can call localhost. In Codex → Settings → MCP servers (or ~/.codex/config.toml):
[mcp_servers.openquok]
url = "http://localhost:3000/mcp"
http_headers = { "Authorization" = "Bearer opo_your_programmatic_token" }
enabled = true
Or put the token in the path: http://localhost:3000/mcp/opo_your_programmatic_token. Same idea as the Codex MCP setup page — only the host changes.
ChatGPT Chat connectors cannot call localhost. Put a TLS reverse proxy in front and use a public HTTPS origin, then paste:
https://api.yourserver.com/mcp/opo_your_programmatic_tokenThat constraint is called out in the ChatGPT MCP guide (Self-hosted API). Defaults like NOT_SECURED=true are for a trusted machine — tighten env before you expose the API. See security and secrets.
openquok-core / CLI on a self-hosted API:
export OPENQUOK_API_URL="https://api.yourserver.com"
# local Compose API:
# export OPENQUOK_API_URL="http://localhost:3000"
export OPENQUOK_API_KEY="opo_your_programmatic_token"
openquok auth:status
CLI auth and custom API URL: CLI getting started and CLI authentication. CapCut does not change — Capcut Edit still talks to local draft JSON. Only OpenQuok’s schedule/upload hop moves to your API, whether you use MCP or OpenQuok Core.
When a format works, clone the workspace and run the same playbook again. Start from ChatGPT Video Edit & Publish on Playbooks, keep Capcut Edit and OpenQuok Core installed beside each other, and reuse Skill Builder whenever you spin up a new agent host.