
Many people want to build an app that integrates with Facebook — a social scheduler, a marketing dashboard, or a tool that posts to Instagram and Threads from one place.
Meta allows that through official APIs. First you must pass gates that have nothing to do with your product UI: a developer app, business verification, permission requests, and often App Review.
Teams report weeks of waiting or a rejection with little detail. Meta’s review systems compare what you type in Business Manager with what appears on uploaded documents. Small mismatches fail the check.
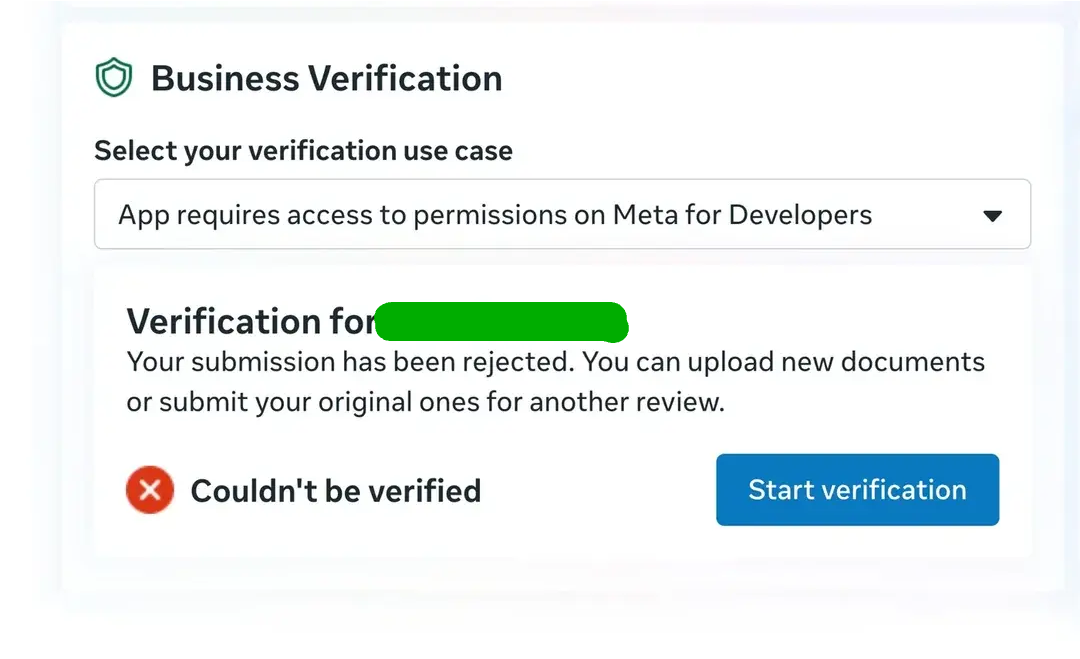
This guide walks the full path if you self-host OpenQuok or run your own Meta app. If you only need to schedule your Pages and profiles, jump to Step 6.
Step 1. Create your Meta developer app
Sign in to Meta for Developers and create an app.
For a social scheduler, you usually choose Other as the use case and Business as the app type. Then add the products you need:
Facebook Login for Business — Facebook Page and Instagram (Business)
Instagram — Instagram (Standalone) login
Access the Threads API — Threads
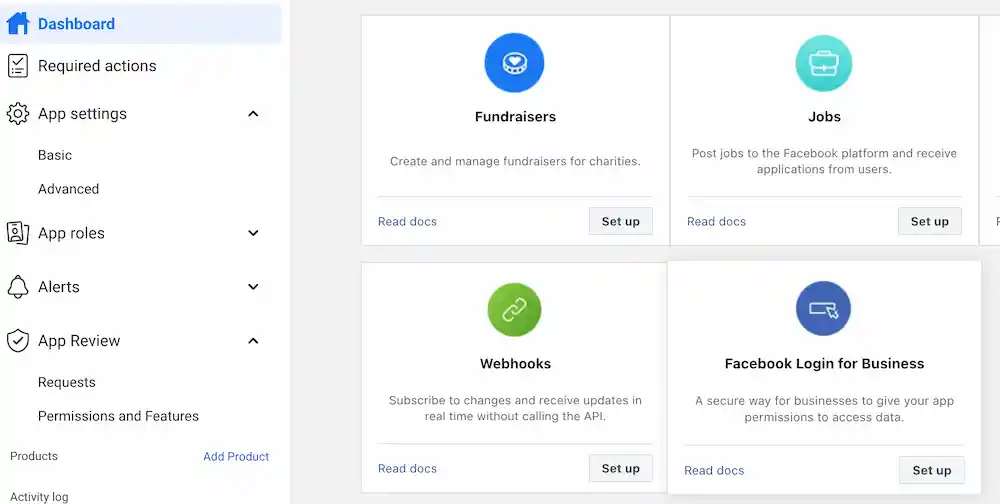
One app can serve Facebook and Instagram. Threads still uses its own app ID and secret in the dashboard.
Self-host operators: follow our network guides — Facebook, Instagram, and Threads — and the integration overview.
Short on time? Go to Step 6 if you do not want to own a public Meta app.
Step 2. App ID, App Secret, and server-side storage
Meta gives you an App ID (public) and an App Secret (private). Threads has separate ID and secret fields in the same app.

On self-host OpenQuok, you put these in backend environment variables and restart the API. Never put secrets in the browser, mobile app, or a public git repo.
These values identify your app. They do not by themselves let you publish for customers. Verification and permissions come next.
Step 3. Request permissions your scheduler actually uses
Meta grants access in pieces. You request permissions for actions such as publishing to a Page, posting to Instagram, or publishing Threads content.
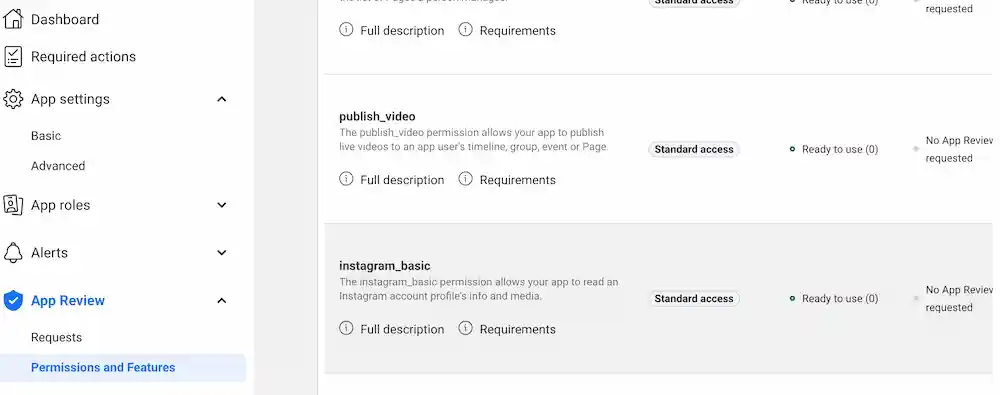
Ask only for what your integration needs. OpenQuok’s self-host docs list the permission set per network so your later App Review submission matches real behavior.
If a permission is missing, publish calls fail even when App ID and Secret are correct.
Step 4. Meta business verification — where most rejections happen
Business verification proves to Meta that the business in Business Manager is real. It is separate from App Review (permission use cases and screencasts). You often need both before a Live app can serve users outside your tester list.
Meta’s checks behave like automated document matching — not a human chat. Treat every field and every upload as something a system will compare line by line.
Match legal name and address exactly
The legal business name in Meta Business Manager must match the name on official documents character for character. “LLC” vs “L.L.C.”, missing “Inc.”, or a trade name instead of the registered name can fail.
The address on your Business Manager profile must match the address on the proof you upload. If your bank statement shows one street line and your utility bill shows another format, Meta may reject the bundle. Use documents that show the same registered address you entered in Business Manager.
Your website should show the legal business name clearly. If reviewers cannot find that name on the site, verification often stalls.
Use document types Meta accepts
Meta publishes country-specific lists of accepted proof — typically items such as certificate of incorporation, business tax or VAT registration, official business licenses, and bank statements. See Meta’s help article Documents for Business Verification for your country.
General rules that repeat in Meta guidance:
Documents must be official, valid, and not expired
Uploads must be legible — not cropped, blurry, or low resolution
Prefer original PDFs or photos where required; scans, photocopies, or screenshots are often rejected when originals are expected
Supported languages are limited; use an accepted language or an official translation where Meta allows it
What often fails (including automated review)
Meta does not always share a specific rejection reason. These patterns show up often:
Business name on the document ≠ name in Business Manager
Registration number or address ≠ what you typed in the profile
User-generated invoices — invoices you create yourself in Word, Canva, or accounting templates are not treated like official tax or registration proof
Bank statement or utility bill that does not show the legal entity name Meta expects
Mismatch between bank statement address and utility bill address when both are used as proof — pick one consistent address everywhere
Website legal name missing or only a brand name with no registered entity
Before you resubmit, open Business Manager and each document side by side. Fix the profile first, then upload new proof — not the other way around.
Classic verification starts from Meta Business Suite → Security Center (wording may vary by region). Details: Classic Business Verification.
Building a Facebook app integration is viable. This step is why many teams look for a shortcut — see Step 6.
Step 5. App Review, Live mode, OAuth, and first connect
After verification (when required), you submit App Review for advanced permissions. Include a clear screencast: user signs in, grants access, schedules or publishes a test post.
Then:
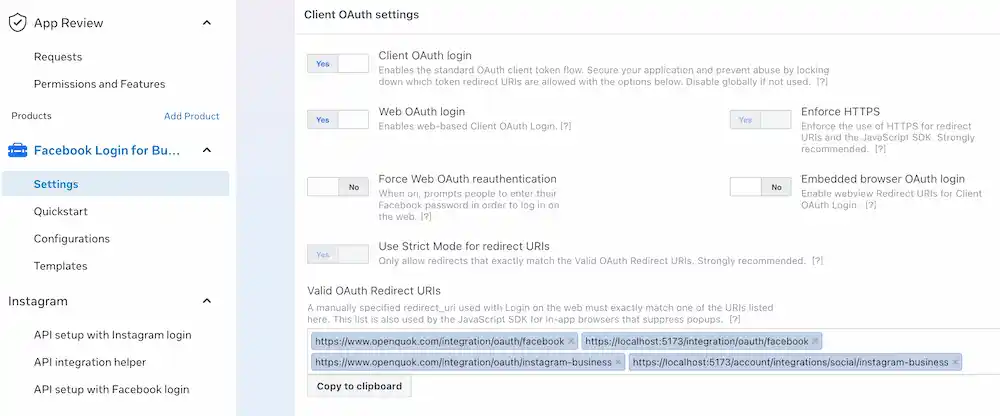
Register OAuth redirect URIs exactly as your OpenQuok web app uses them (each self-host guide lists paths).
Link Facebook Pages and Instagram professional accounts in Business Suite where required.
Switch the app to Live when real users publish outside Development mode.
Connect in the OpenQuok dashboard via Add channel and complete OAuth.
Operators: self-hosting plus the social integration guides in Step 1.
Step 6. Skip operator verification and App Review — OpenQuok Cloud
If your goal is a social scheduler for your own brand — not a public Meta app for thousands of strangers — you usually do not need to run Step 4 for OpenQuok’s operator apps.
On OpenQuok Cloud, OpenQuok already completed operator-side Meta app registration and review. You:
Use Add channel on Home.
Connect Facebook Page, Instagram, or Threads.
Sign in with Meta and approve access to your assets.
Schedule from the calendar; you approve each publish.
You still follow Meta account rules (for example, Instagram Business needs a Page linked in Meta). You skip owning verification documents, env secrets, and App Review for OpenQuok’s app.
Automate later with the posting API or scheduling API.
Two paths. Self-host when you must control the Meta app. Cloud when you want Facebook app integration outcomes — scheduled posts — without fighting document matching.
Verification is worth it for some teams — not for every scheduler
Passing Meta business verification is the right investment if you ship a multi-tenant product on your own app ID.
It is the wrong investment if you only needed a reliable Facebook, Instagram, and Threads calendar. You now know why rejections happen — and that Cloud connect was built for that second job.
More after signup: public API getting started and connect channels.