Android Studio
Connect OpenQuok MCP to Gemini in Android Studio via MCP server settings and mcp.json.
Connect your agent today
Draft from chat, review in your calendar, and publish only what you approve.
Prerequisites
- Android Studio with Gemini enabled.
- An OpenQuok programmatic token (opo_).
MCP configuration
Android Studio stores MCP servers in mcp.json under the IDE configuration directory. Enable MCP in Settings → Tools → AI → MCP Servers. See Add an MCP server for field names and transport notes.
Remote HTTP servers use httpUrl (streamable HTTP). Some legacy endpoints use url for SSE — OpenQuok uses streamable HTTP on /mcp.
Antigravity CLI
If you use Gemini from the terminal instead of the IDE, see Antigravity CLI (~/.gemini/config/mcp_config.json with serverUrl).
Setup
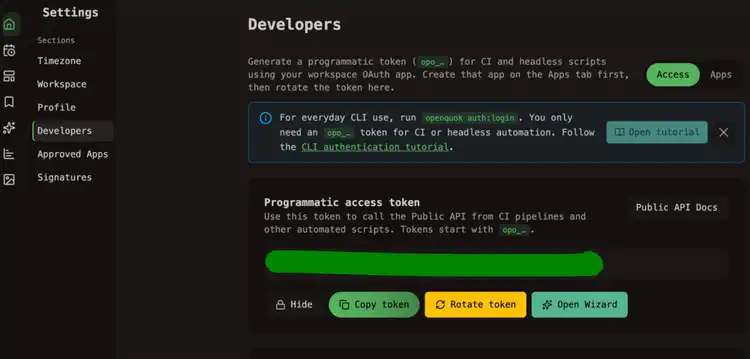
Generate your token
In the OpenQuok app, open Account → Settings → Developers → Access. Create an OAuth app if prompted, then generate an opo_… token.
Add OpenQuok in MCP Servers
Open Settings → Tools → AI → MCP Servers. Enable MCP servers and merge the openquok block:
Click OK. Android Studio saves the file and attempts to connect. Use Start Login only when the server requires OAuth — OpenQuok uses your programmatic token instead.
Verify in Gemini chat
Open Gemini chat in Android Studio. Type /mcp to list tools, then ask your agent:
List my connected social media accounts
You should see OpenQuok return your connected channels.