
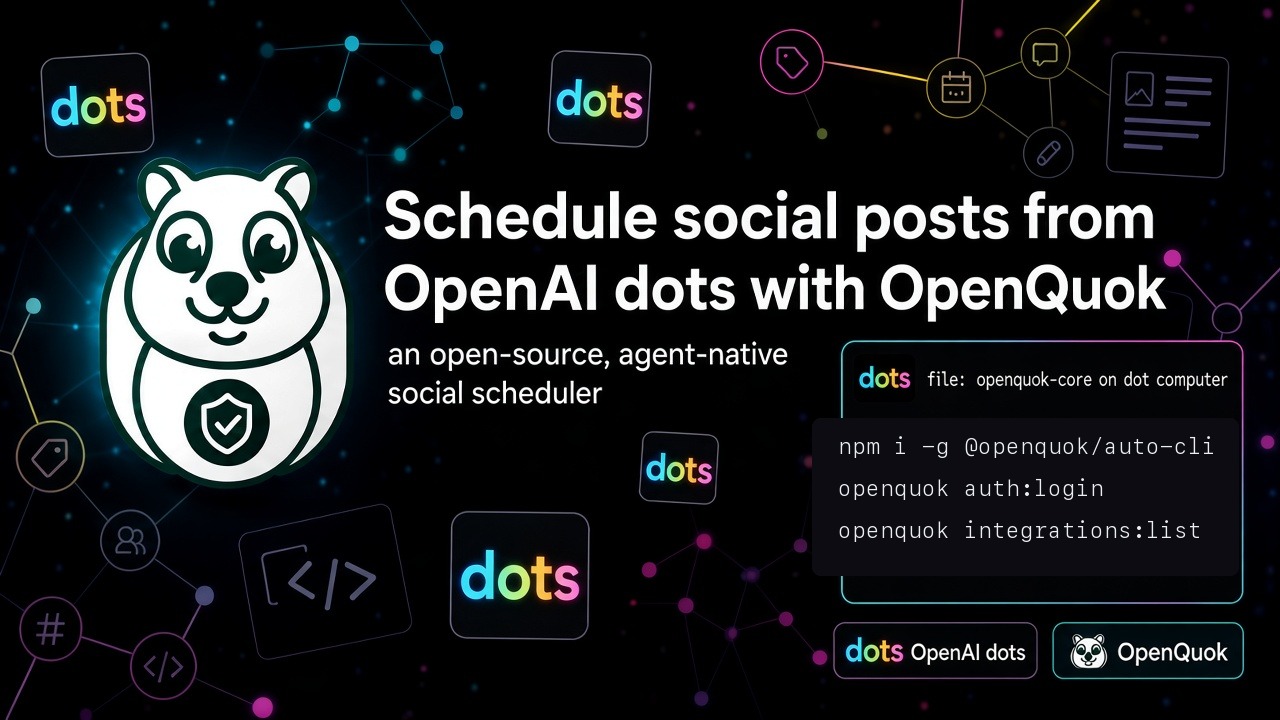
OpenQuok ships as openquok-core on your dot cloud computer. You message the dot from ChatGPT, Slack, or Microsoft Teams. The dot runs the openquok CLI on its machine. It drafts and queues posts in your workspace. You can publish now, schedule for later, or save drafts and approve on the calendar or kanban.
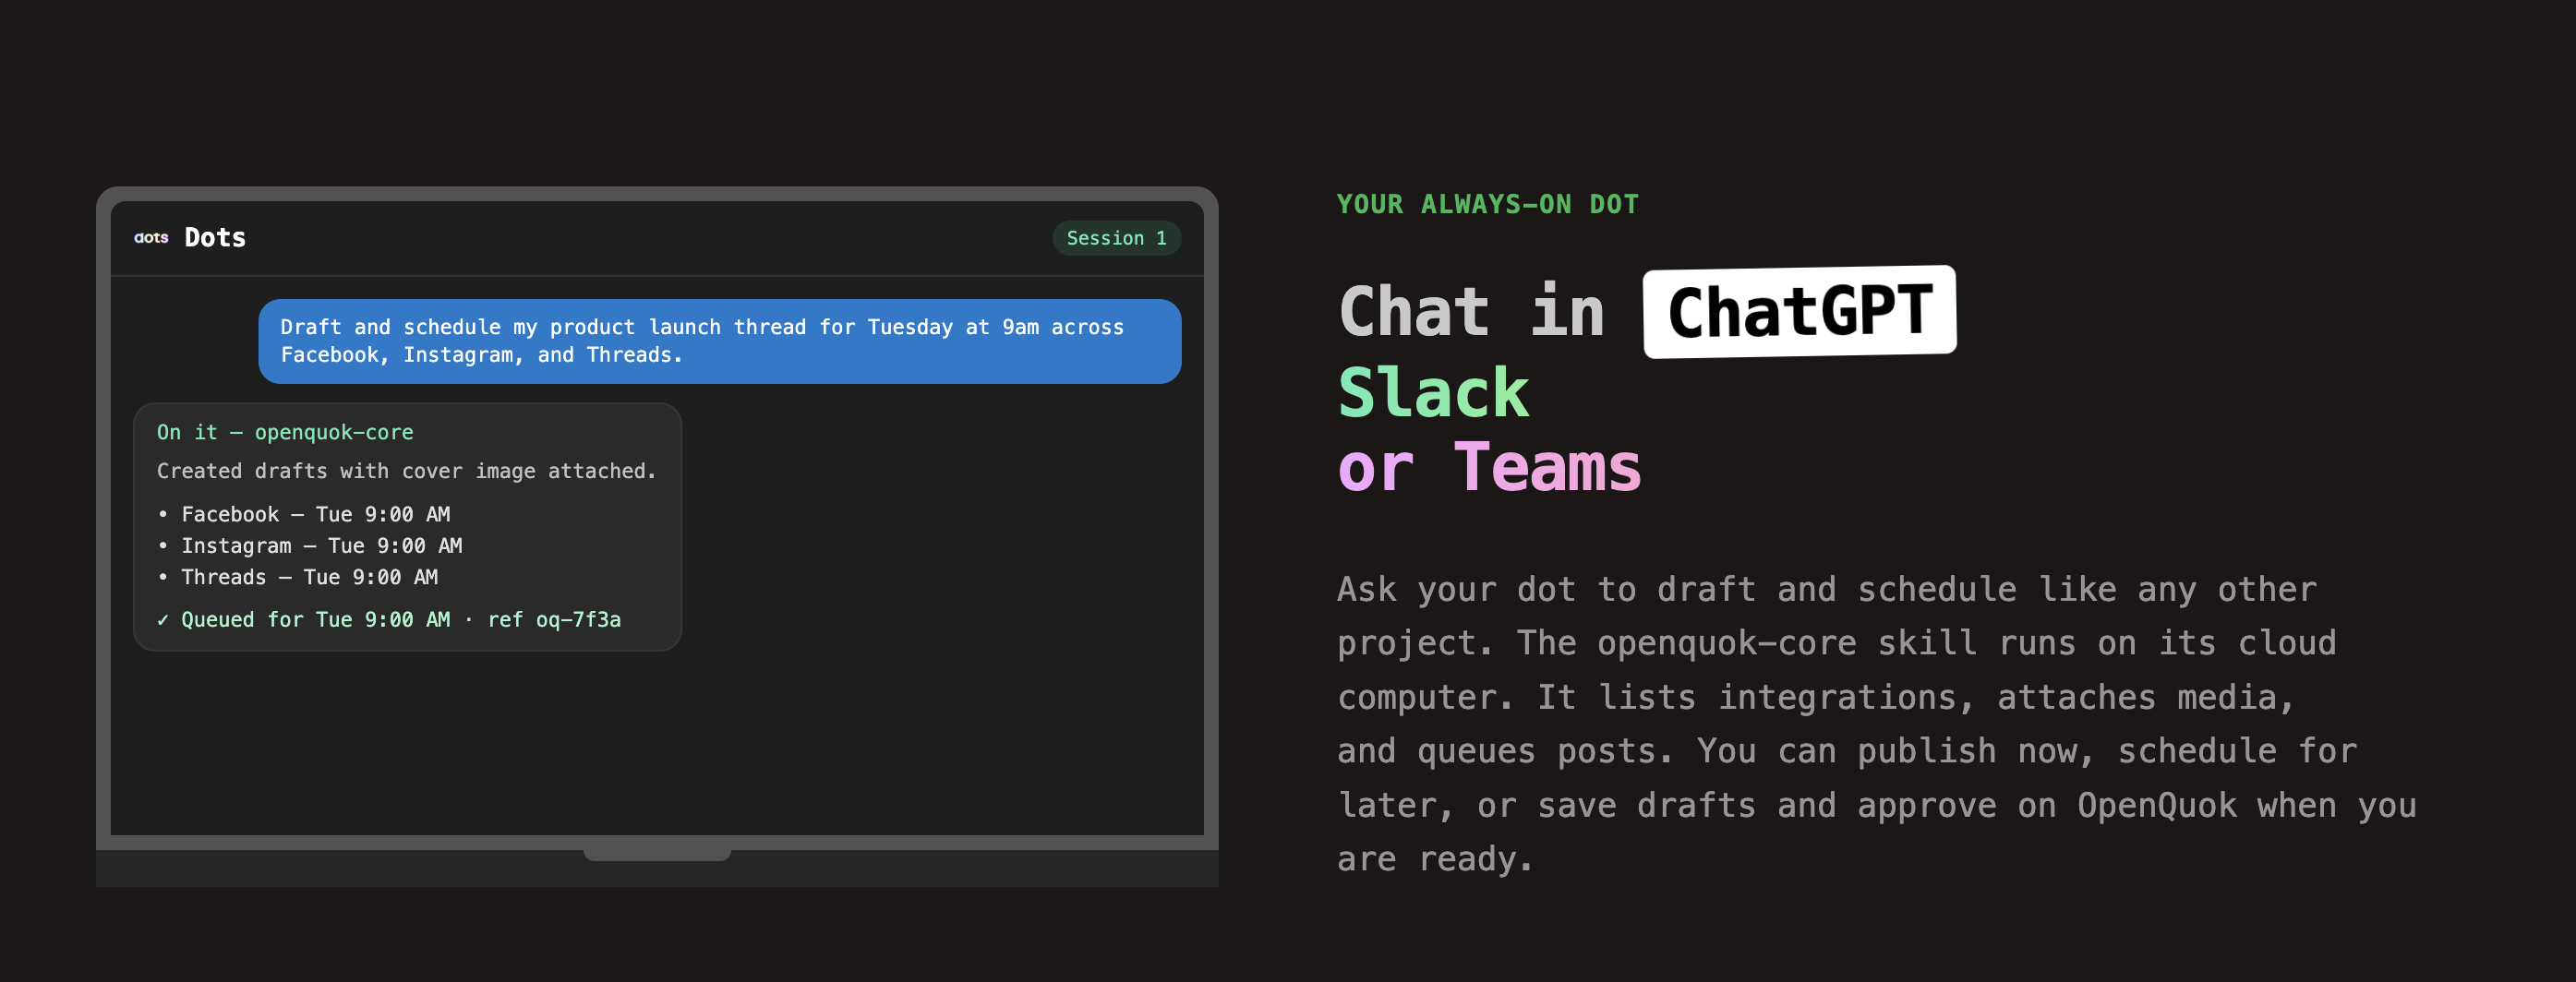
Start on the OpenQuok for Dots landing page. Setup: Dots agent setup guide. CLI overview: CLI getting started.
Why Dots fit social scheduling
Dots are always-on OpenAI agents. Each dot has a browser, filesystem, and plugins on a managed cloud computer. You do not keep a ChatGPT MCP connector open all day. You load openquok-core when you need OpenQuok. That fits repeatable jobs: weekly batches, analytics pulls, and per-channel rewrites.
OpenQuok is CLI-first: JSON on stdout, media in the workspace, and posts you control. The dot handles volume. You choose publish-now, schedule, or draft-and-review before anything goes live.
Dots are not ChatGPT MCP
ChatGPT MCP connects OpenQuok inside a chat session with a custom connector. That path fits ad hoc questions. It ends when you close the connector chat.
Dots keep a persistent cloud computer. You install @openquok/auto-cli and register openquok-core through plugins. The dot can run background work and come back with drafts. Read ChatGPT MCP + OpenQuok when you want MCP in chat only. This post is for Dots + openquok-core.
Dots vs Grok Bot vs OpenClaw
Grok Bot is an xAI teammate on a shared cloud desktop. Pick it when you want many Bots on one machine. See Schedule Social Posts from Grok Bot with OpenQuok.
OpenClaw is self-hosted on your Gateway. Pick it for Telegram, WhatsApp, or Slack on your hardware. See Grok Bot vs OpenClaw.
Dots fit when you live in ChatGPT, Slack, or Teams and want OpenAI-managed cloud computers with Custom Rules and Activity View.
What you need
An eligible ChatGPT plan with Dots (for example Pro, Business Premium, or Enterprise when your admin enables it).
ChatGPT on desktop or browser to create your dot and open its cloud computer when you inspect work.
An OpenQuok workspace with at least one channel connected. See Connect channel after sign up.
Permission for the dot to run terminal commands on its cloud computer—not on your laptop.
Set Custom Rules before you schedule
In Dots settings, set Custom Rules for outbound posts. Require approval when the dot should ask you first. Pair that with OpenQuok: tell the dot to save drafts unless you already checked the copy in chat.
Activity View shows what the dot did on the cloud computer. OpenQuok holds the publish checkpoint on the calendar or kanban.
Install CLI and openquok-core on the dot computer
Ask your dot to run this on its cloud computer:
npm install -g @openquok/auto-cli@latest
openquok --version

mkdir -p ~/openquok-core
curl -fsSL "https://raw.githubusercontent.com/Ratimon/openquok-monorepo/main/agent/skills/openquok-core/SKILL.md" \
  -o ~/openquok-core/SKILL.md
Register ~/openquok-core/SKILL.md as openquok-core in plugins. Full steps: Dots setup guide.
Before you customize per-channel recipes, assemble blocks in the Skill Builder. Export SKILL.md and save it on the dot computer the same way.
Authenticate once on the dot computer
Default path: device login in the browser on the dot cloud computer:
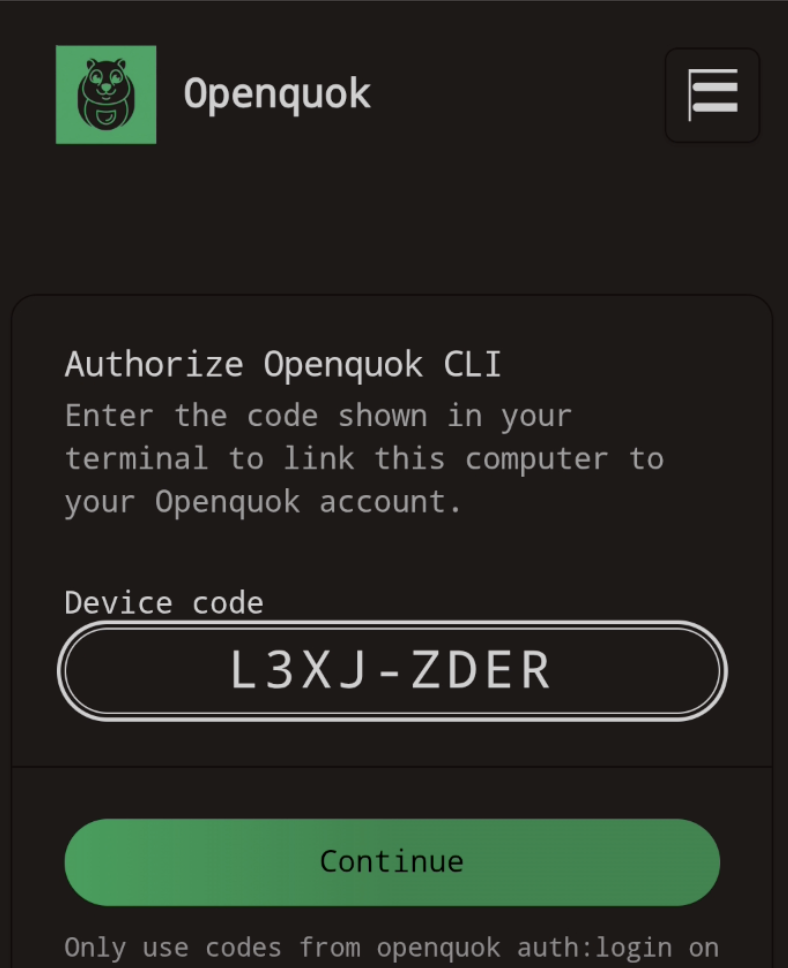
openquok auth:login
openquok auth:status
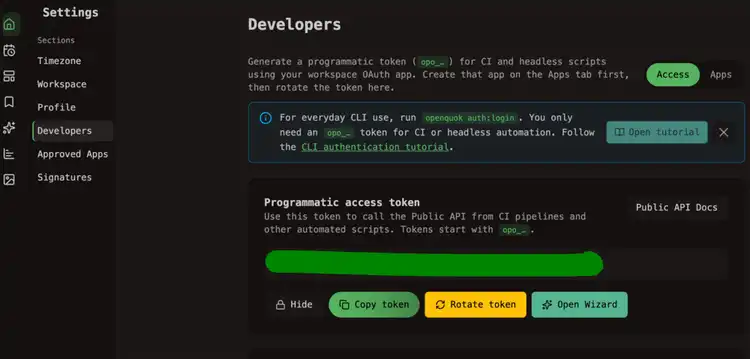
Some teams use a programmatic token on the dot shell only:
In OpenQuok, open Account → Settings → Developers → Access.
Generate an
opo_…token for one workspace.On the dot computer, set
export OPENQUOK_API_KEY="opo_…"in the shell profile the dot uses—not in Slack or Teams messages.
Never paste tokens into public channels. Rotate the token if it leaks.
Verify in a new chat
After install, start a new conversation. Ask:
List my connected social media accounts.
The dot should run openquok integrations:list or follow the skill. If the list is empty, connect a channel in OpenQuok first.
Draft, schedule, or publish — you choose
The CLI and skill can publish now, schedule, or save drafts. Say what you want in plain language.
List my connected accounts. Draft a LinkedIn post for tomorrow 9am workspace time about our launch. Save as draft. Do not publish until I approve on OpenQuok.
Publish this caption to X now — I already approved the text in chat.
Open the calendar or kanban when you want a review step. Edit timing or media if needed. Approve when you are ready.
For a first time slot, try Best Time to Post. If copy sounds machine-written, try the Humanizer before you approve.
Prompts that work on Dots
Rewrite this launch note for LinkedIn, X, and Facebook. Stay under each limit. Save each version as a draft for Friday 2pm workspace time.
What performed best on my channels over the last 7 days? Then draft a follow-up for my top channel next Tuesday 9am. Save as draft only.
For editor MCP in the same workspace, see Cursor + OpenQuok and MCP examples. Dots stay on skills and the CLI on the dot computer.
Also using Meta Muse, Grok Bot, or ThinkRail?
One OpenQuok workspace works across agent hosts. Pick the guide that matches where you chat. Plan limits: Pricing.