
A workspace is the boundary for your data in OpenQuok. It holds channels, posts, media, tags, templates, teammates, and settings. You can belong to more than one workspace. You can switch to change tp another workspace. See the workspace glossary and Team settings.
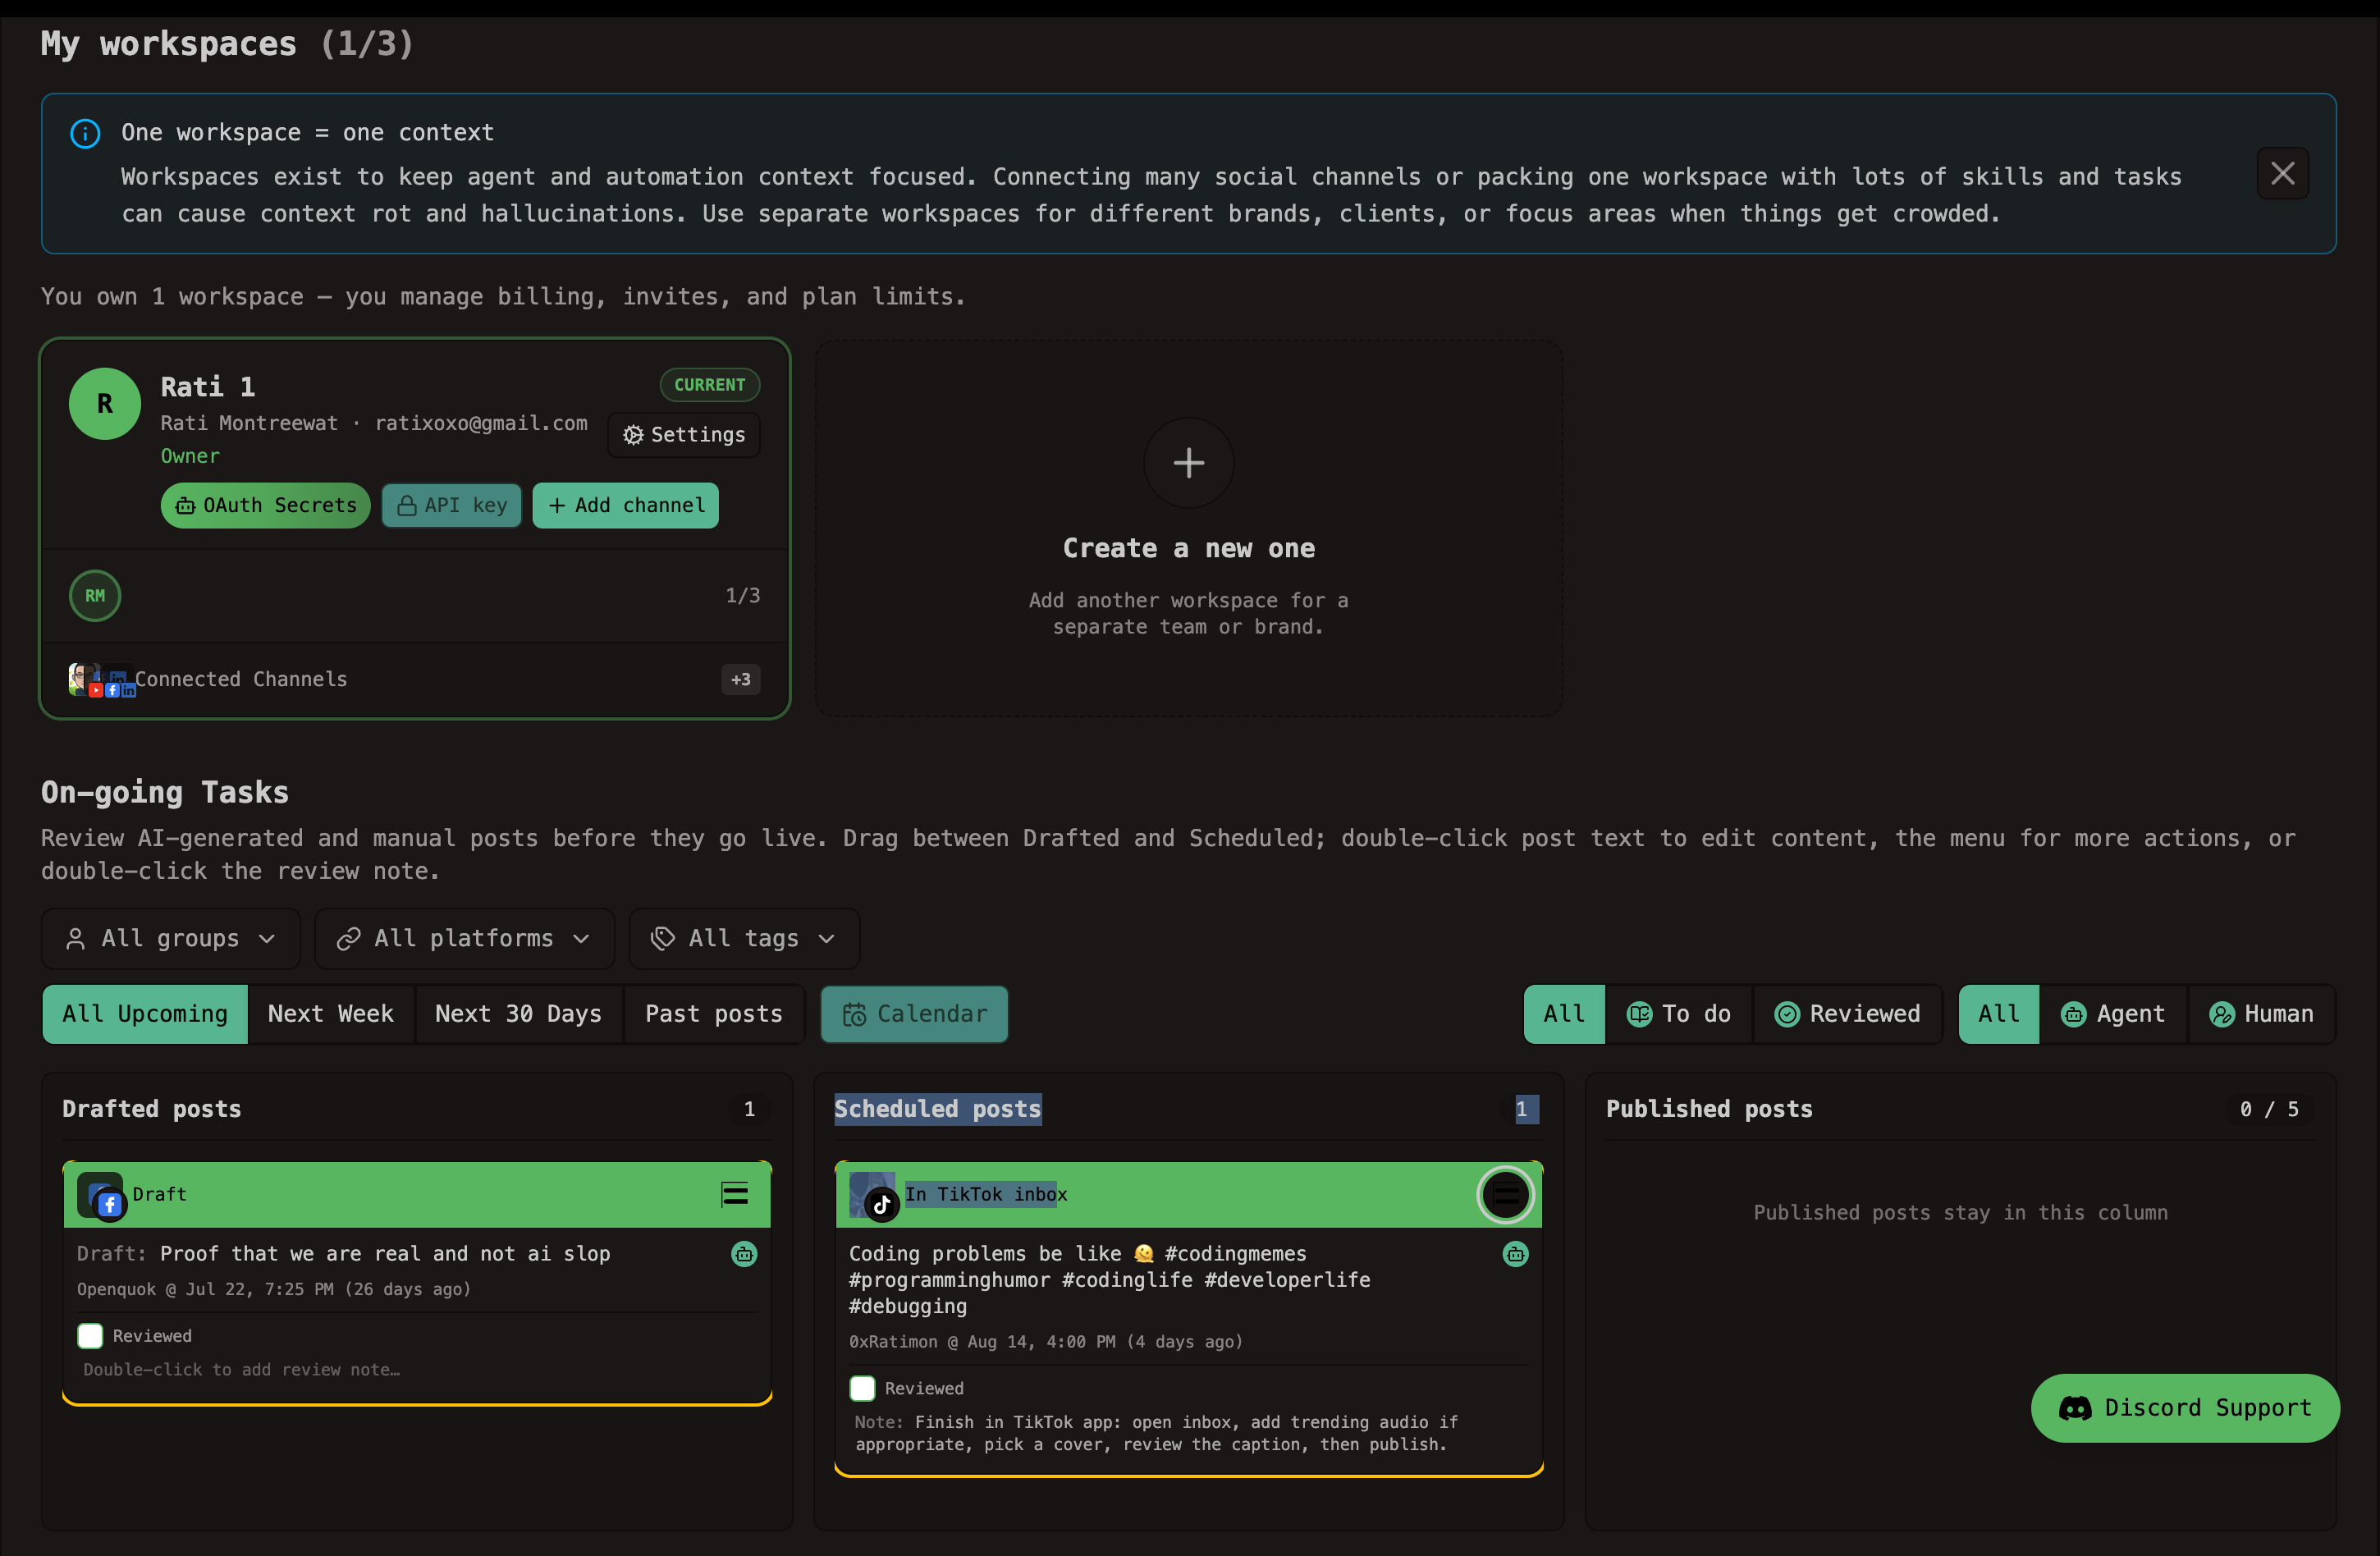
This walkthrough covers three jobs teams run every week:
Keep each client’s channels separate.
Reuse the same composer setup across posts.
Collect client feedback without giving them a login.
Use case: Agency with several clients
You manage social for more than one brand. You need one calendar without mixing their posts.
Group channels by client
Create a channel group for each client. Put their connected networks in that group. Filter Home and the calendar to one group when you plan that client’s week. Full steps: Channel groups.
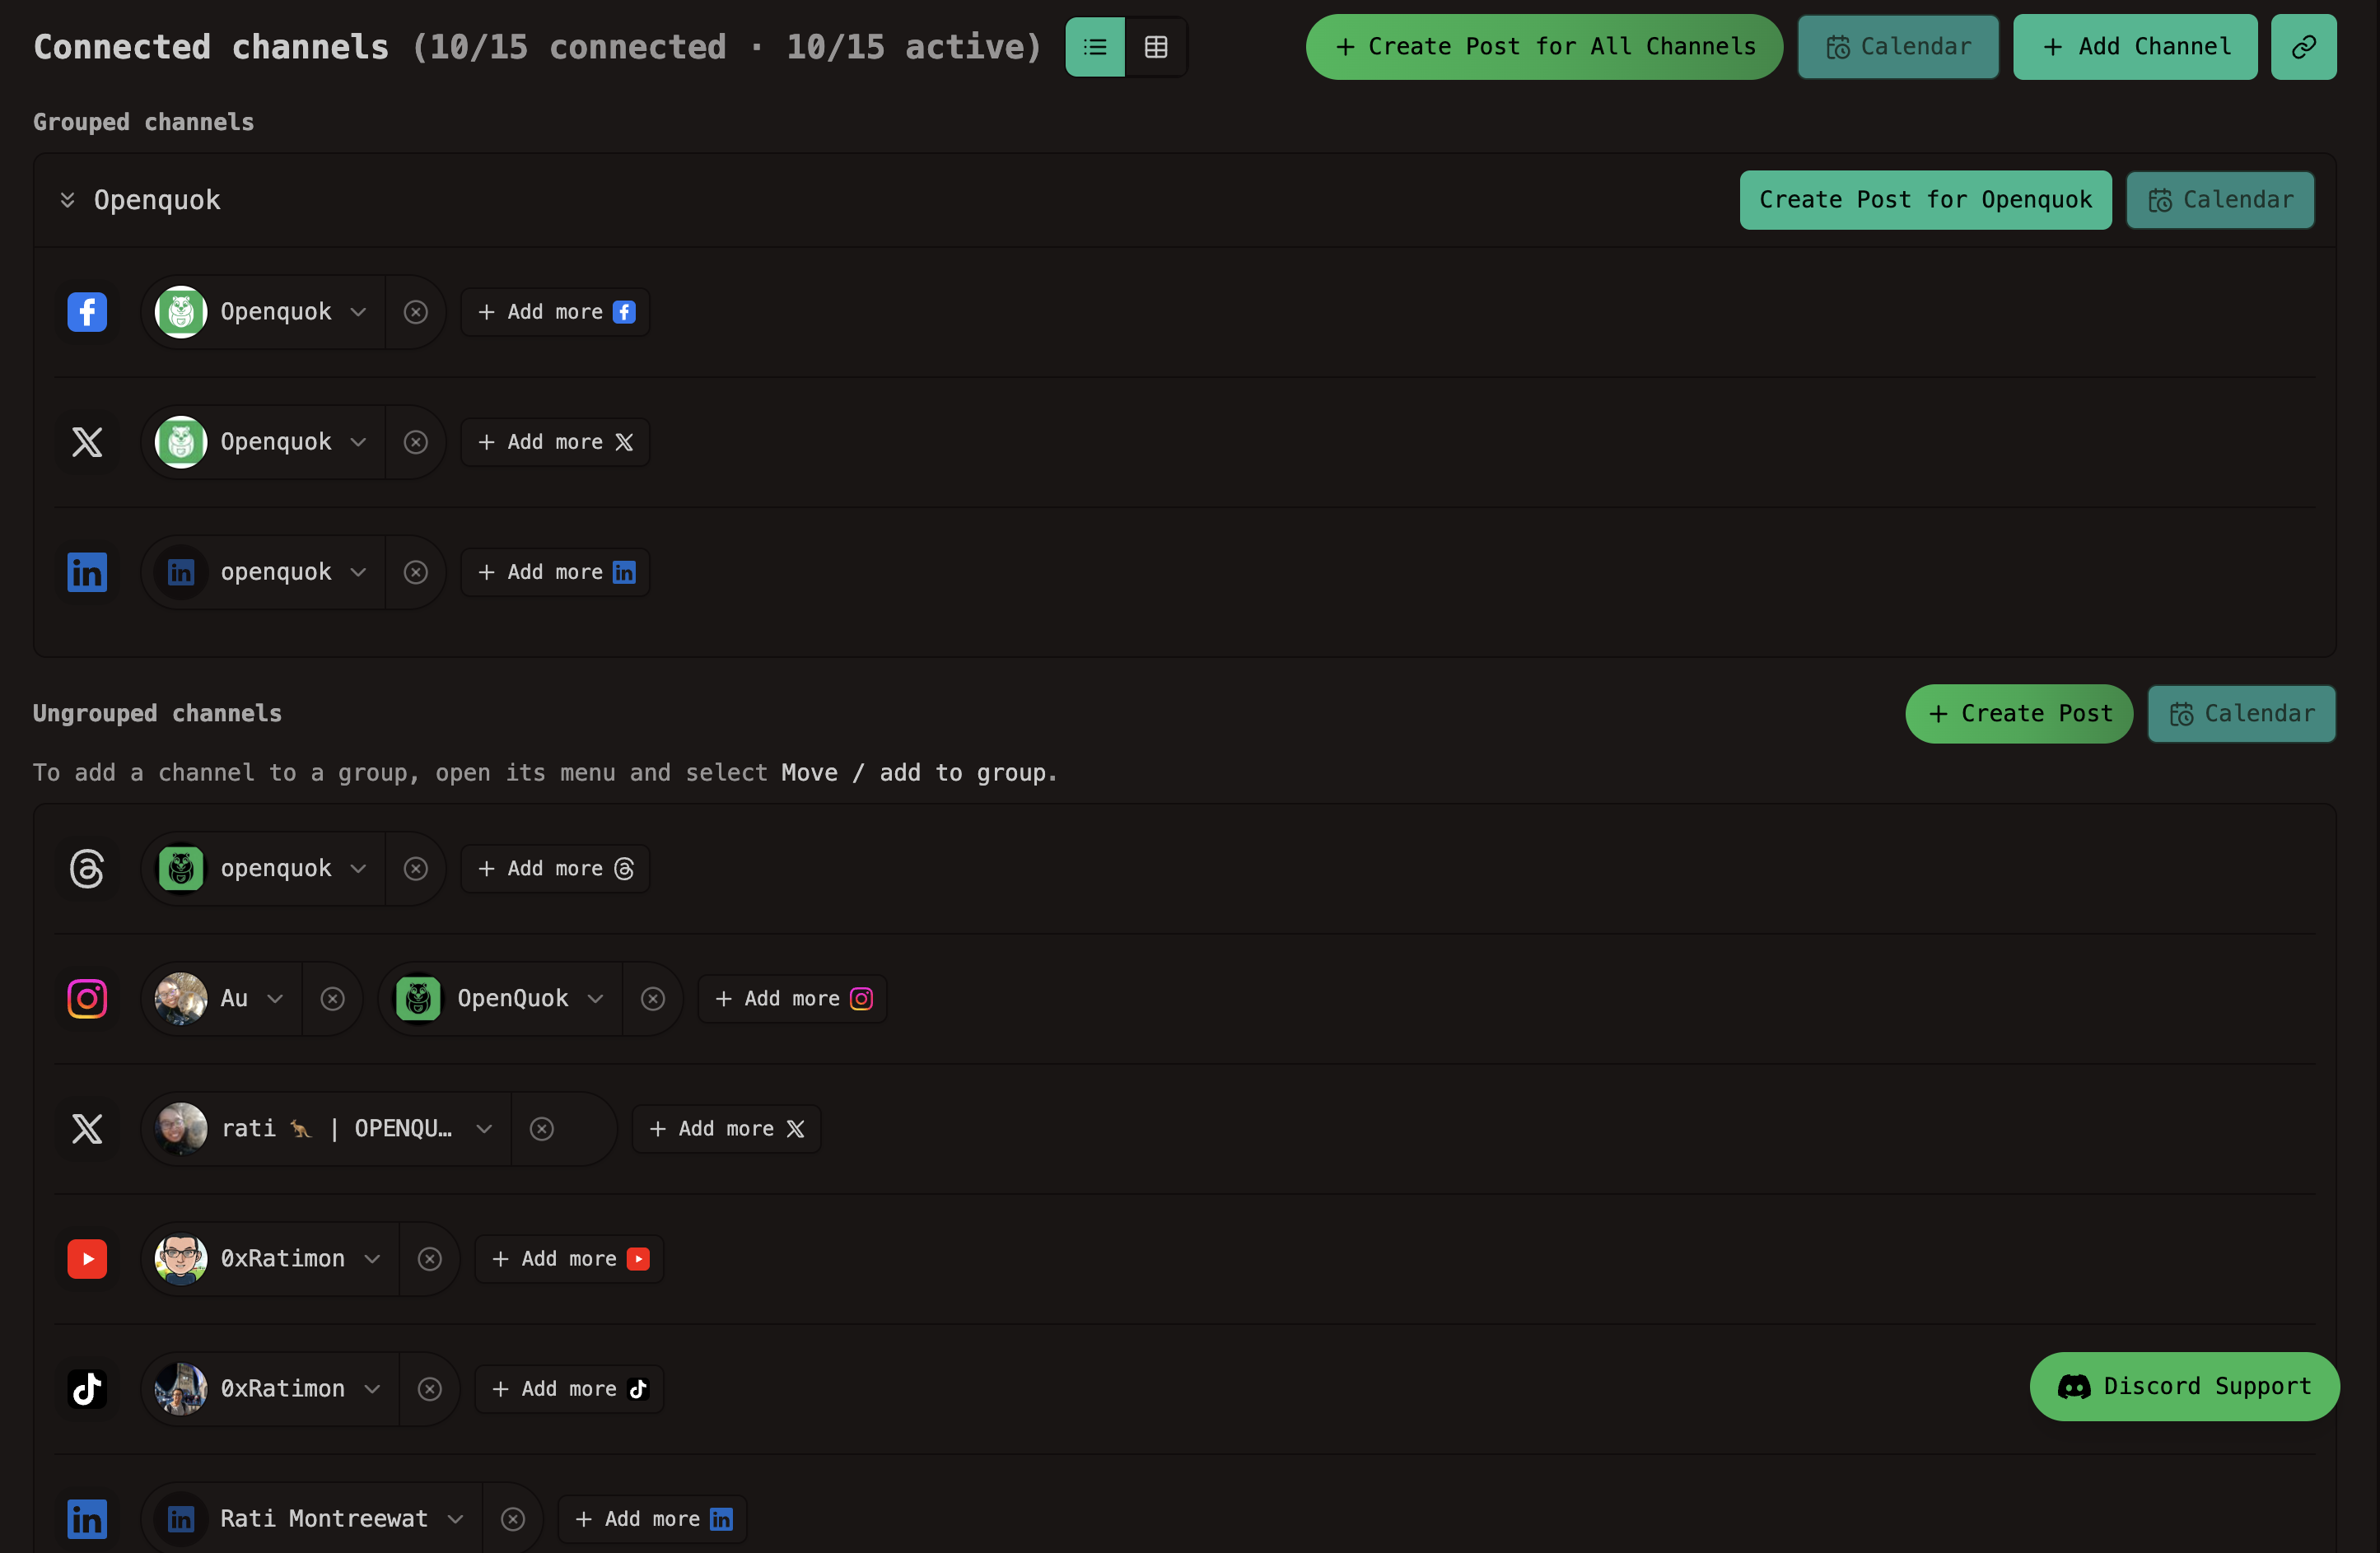
Connect a client channel without their OpenQuok login
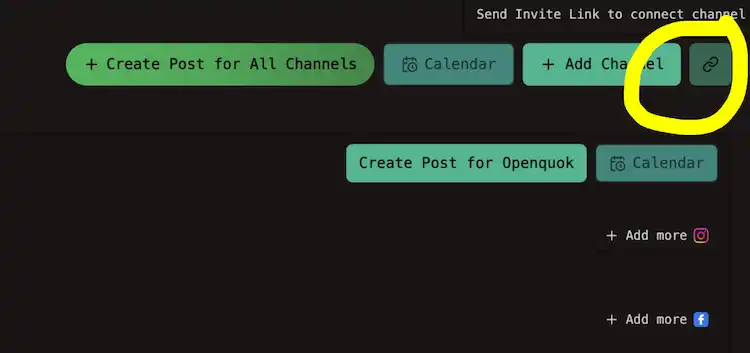
Send an invite link. The client authorizes their social account on the network. When the channel appears in your workspace, assign it to their group. You do not need their OpenQuok password. See Connect a channel.
Draft the week, then send preview links
Save posts as Draft while copy is under review. Open Post actions → Preview → Share with Others. Send the URL by email or chat. The client reads the post and leaves a comment. They do not see your other clients or your full workspace. Walkthrough: Approvals.
When you are satisfied, edit in the composer and move the post to Scheduled. OpenQuok does not set a locked “approved” flag. You schedule when you are ready.
Use case: In-house marketing team
Your company runs several networks from one brand. More than one person writes and schedules posts.
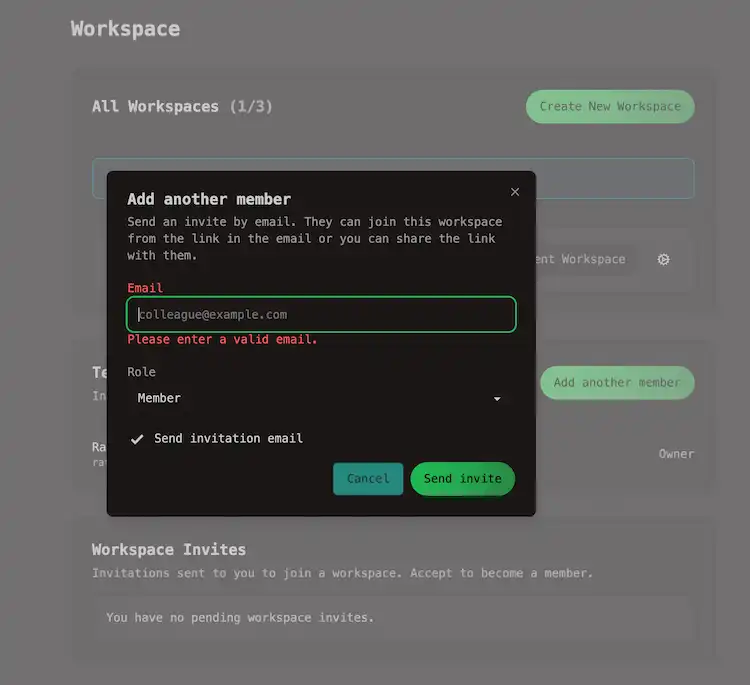
Invite teammates
Open Settings → Workspace. Click Add another member. Choose Member or Admin. Admins can invite others. The owner manages billing on Cloud. Details: Team.
Share templates across the team
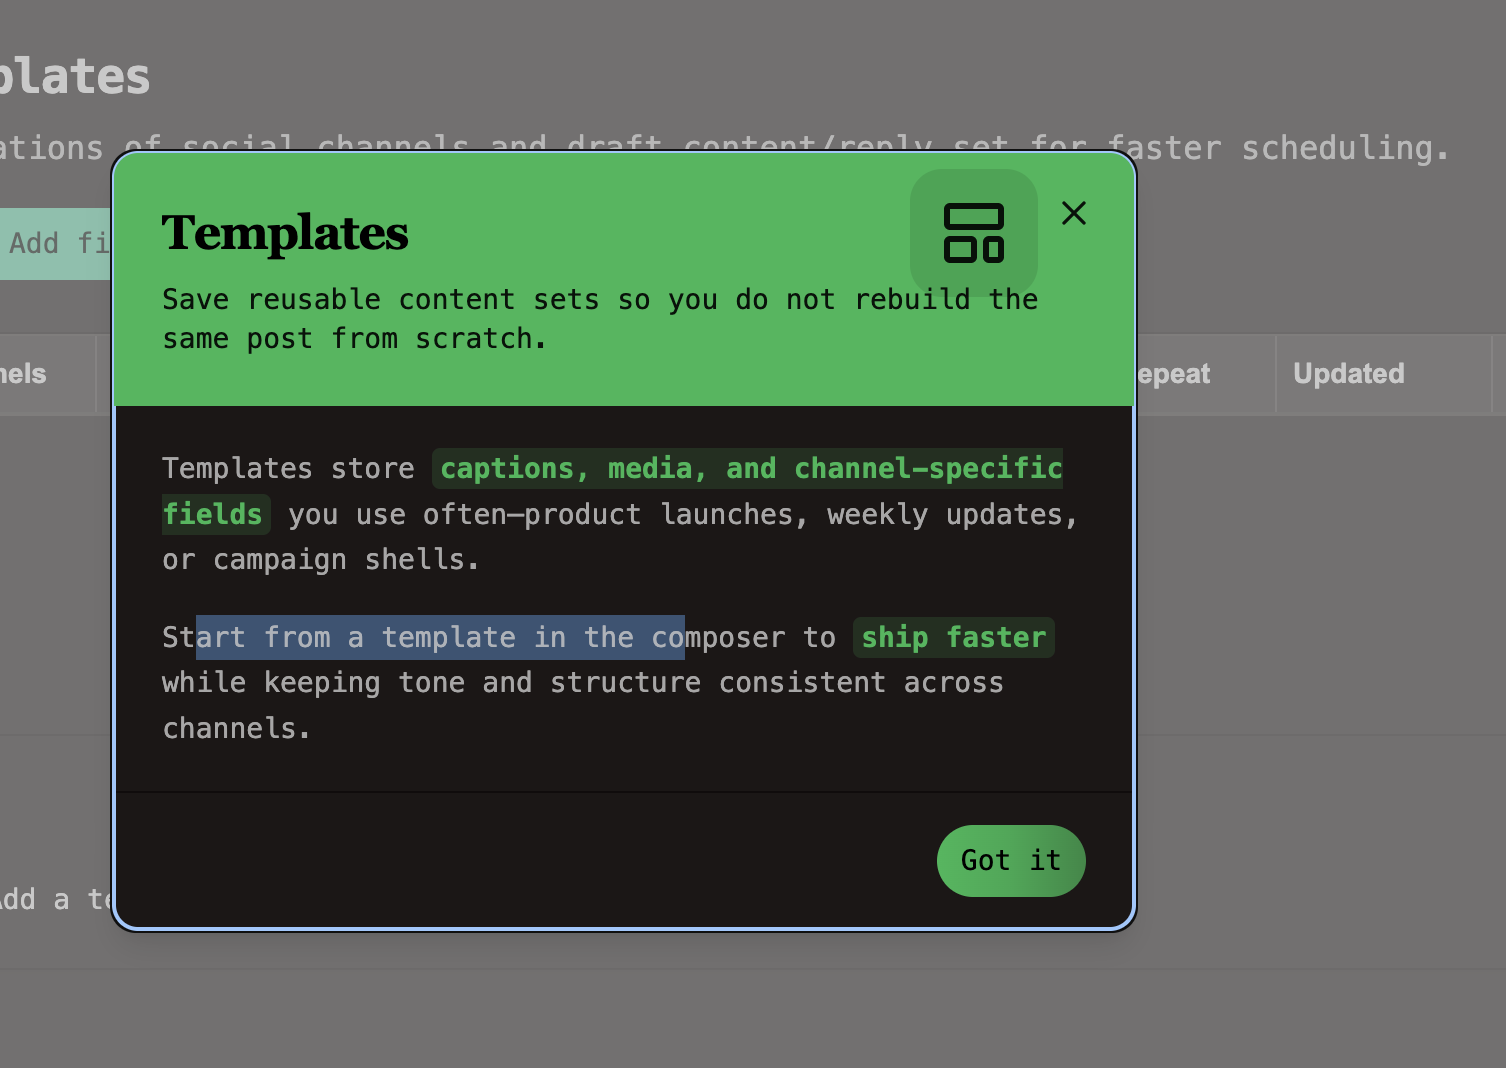
A template saves a composer preset: channels, caption, media, tags, provider settings, repeat cadence, and follow-up replies. Everyone in the workspace sees the same list at Templates. When you start a new post, pick a template or continue without one. Guide: Templates.
Share sign-offs with signatures
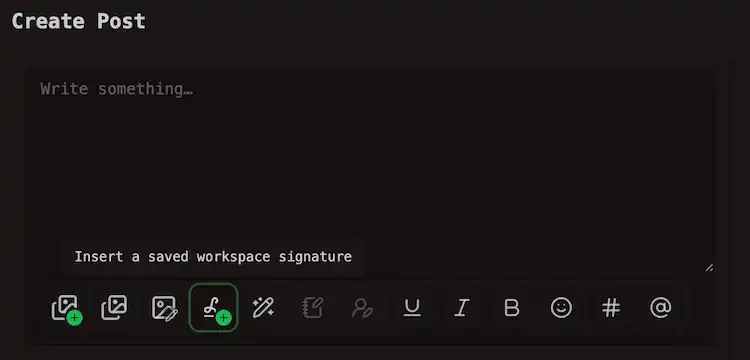
A signature is reusable trailing text — a CTA, hashtag block, or link line. Save signatures under Settings → Signatures. Insert one from the post editor toolbar, or mark one to auto-add on empty new posts. Guide: Signatures.
Load a template for the main post. Add a signature when the sign-off fits every channel in that draft.
Use case: Client review without OpenQuok access
Your client approves copy but does not use OpenQuok.
Put their channels in one channel group.
Filter Home or the calendar to that group.
Draft posts for the week.
Send a preview link for each post that needs sign-off.
Read comments on the post row — not scattered email threads.
Apply edits and schedule.
Preview links are not password protected. Send them only to people you trust. Treat them like an unlisted link. More detail: Approvals.
Templates vs signatures
FeatureWhat it savesWhereTemplatesFull composer preset/account/templatesSignaturesTrailing sign-off text onlySettings → Signatures
Templates speed up repeat channel mixes and caption skeletons. Signatures speed up the same CTA or hashtag line on many posts.
Plan limits on Cloud
Shareable preview links and collaboration comments on preview pages need a Team plan or above on OpenQuok Cloud. Lower tiers can still open previews from the post menu for your own review. Templates, signatures, channel groups, and team invites follow the limits on Pricing and Cloud limits.
Self-hosted installs skip Cloud billing gates on most Settings sections. HTTP rate limits may still apply when enabled.
Try it
Start a trial on Pricing. Create a workspace. Invite a teammate under Team. Group one client’s channels. Save a template and a signature. Draft one post and send a preview link using Approvals.