Quickstart
OpenQuok zero to hero — five steps from a new workspace to a scheduled post.
Connect your agent today
Draft from chat, review in your calendar, and publish only what you approve.
Quickstart
Five steps from a new workspace to your first queued post on the calendar and kanban.
Sign in, connect a channel, compose, pick a time, then confirm the post on the calendar and kanban. Cloud and self-hosted share the same UI.
Note
Running your own self-host version? Start with Self-hosting for installation, configuration, and provider keys before continuing this guide.
Choose Cloud or Self-host options
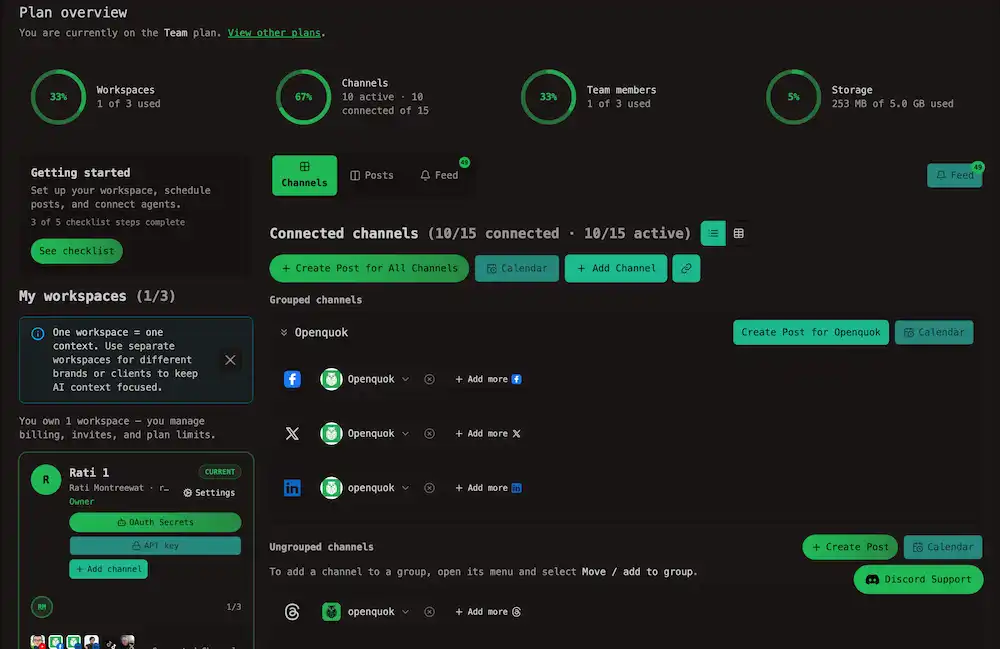
Set Timezone under Settings so scheduled times match your working time zone.
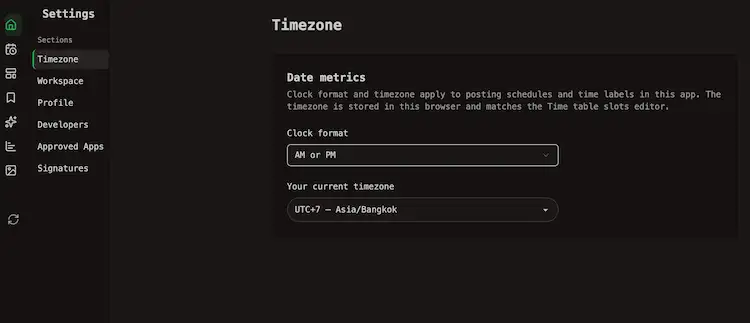
See Tour the app for where settings live.
Connect a channel
A channel is one connected social account: one LinkedIn page, one Instagram account, and so on.
On My Dashboard, open the Channels tab and click + Add Channel, or click + Add More next to the last connected channel in each social platform row. You can also use Add channel on the current workspace card in the left column.
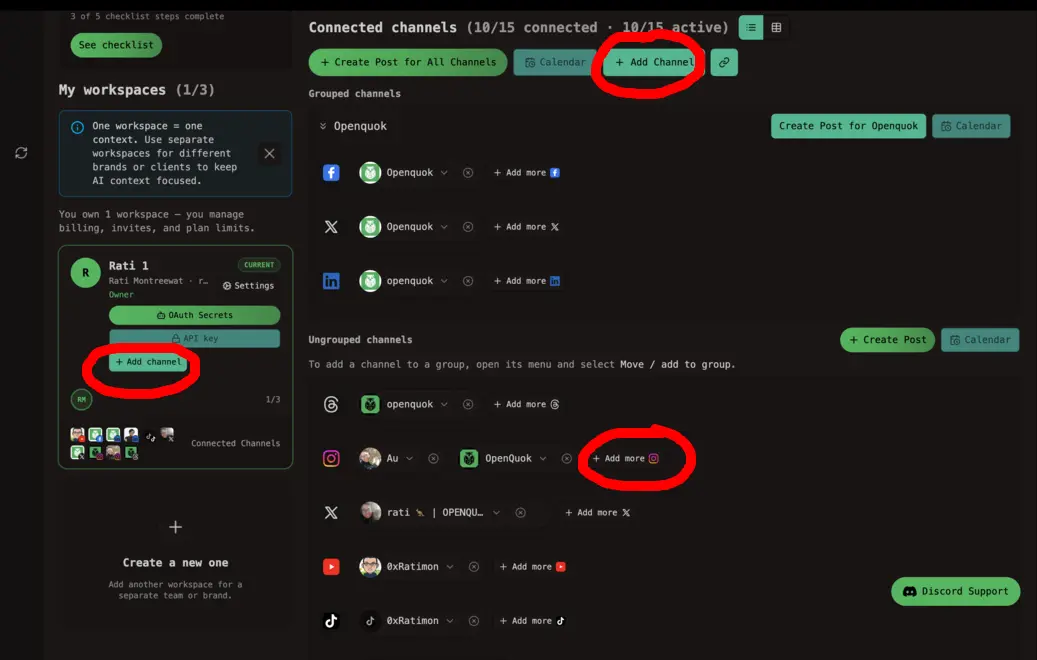
Then we finish the provider or Oauth flow. Each network uses its own connect flow — usually OAuth in the browser, sometimes an API key or credentials you paste in the dialog shown.
See Connect a channel for what each one means.
The channel appears on the Channels tab with its avatar (and on the workspace card preview). Reconnect from the channel menu if a token expires — see Manage a channel.
Compose your post in post editor
Click Create Post on My Dashboard (Channels or Posts tab), or click a day (or empty slot) on the calendar to start at that time.
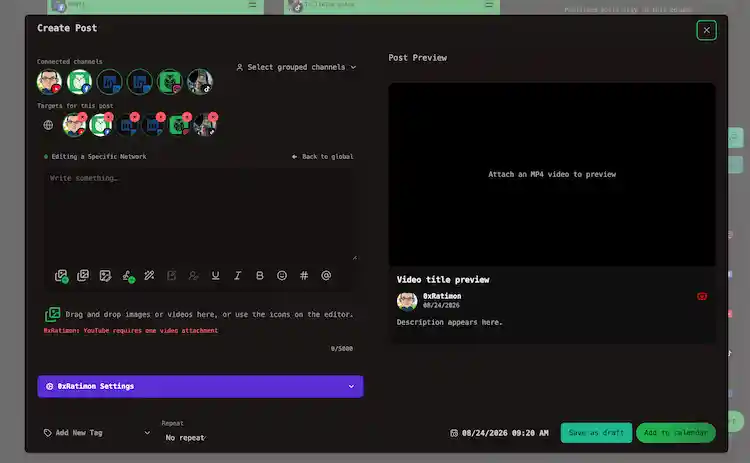
- Select the connected channels at the top of the post editor.
- Write once in Global. The same caption goes to every selected channel. To tailor one network, switch to that channel and unlock it — see Global vs per-channel.
- Add media from your device or the media library. See Media.
- Fill provider settings in the purple side panel when channels need different fields (for example a YouTube title, Instagram post type, or Dev.to tags).
The preview shows how the post will look on each network. See Creating posts for the full editor tour, or Writing the post for caption and preview details.
Schedule or Publish
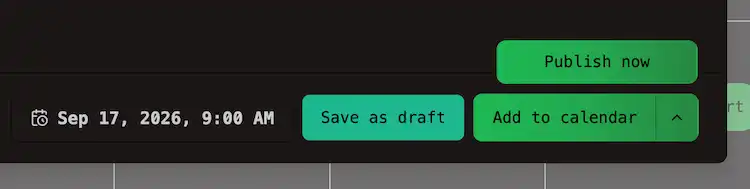
Pick a date and time at the bottom right of the post editor, then choose how to save.
| Button | What it does |
|---|---|
| Save as draft | Keeps the post as Drafted posts. It never publishes until you schedule. |
| Add to calendar | Schedule it for the time you picked. |
| Publish now | Publish Now. Open the ⋯ menu on the schedule button to reveal it. |
See more at Scheduling for draft vs scheduled vs publish-now behavior.
If a channel is missing a required field, save is blocked until you fix that channel’s settings. See Links and validation.
Confirm it
On My Dashboard, open the Posts tab. The card sits in Drafted posts or Scheduled posts.
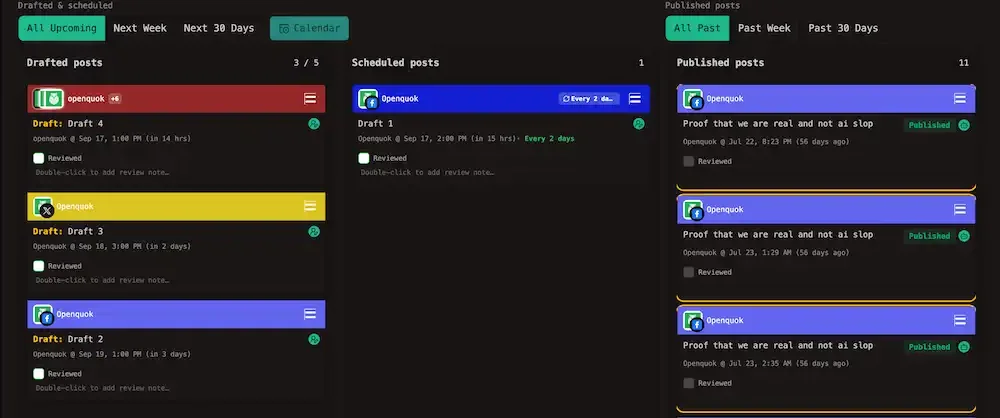
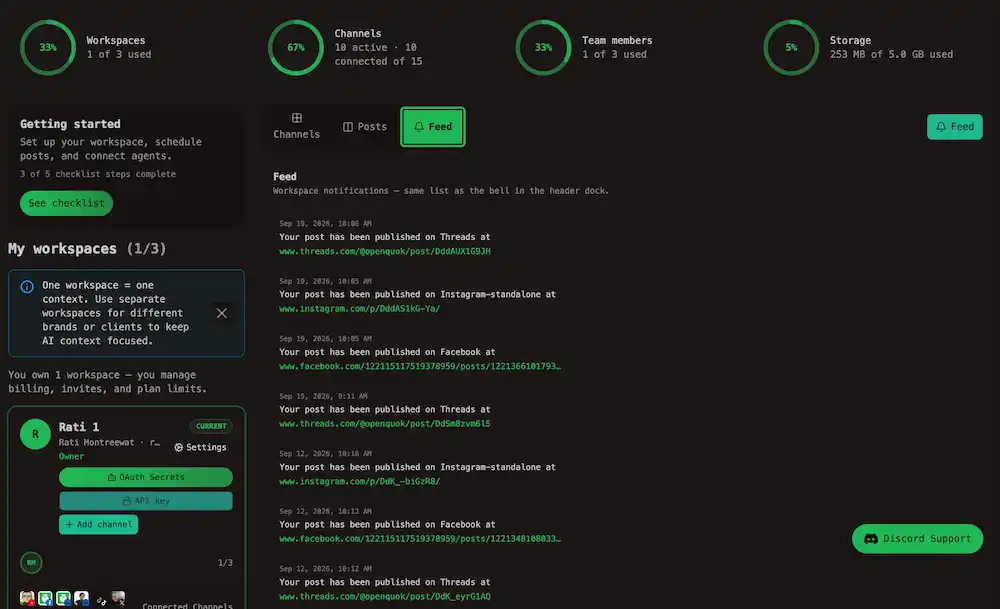
After the scheduled time, it moves to Published, and there should be email, notifying the published post's link.
Tip
Alternatively, open the header Notifications bell or the My Dashboard Feed tab to find your published post link.
If publish fails, the calendar card shows Failed. Usual causes are a channel that needs reconnecting or a network rule the payload broke.
Note
See Posting rules by platform, open the card for the error, fix post or media, reconnect if auth failed, and schedule again.
Tip
On the calendar, the scheduled post can also be found in the slot you chose.
If something goes wrong
You can always contact human support via Discord, but the ticket can be closed faster if you provide the detailed error:
| Symptom | What to do |
|---|---|
| Channel disconnected or expired token | On My Dashboard Channels tab, open the channel menu and reconnect. For API-key channels (eg. Dev.to), paste a new key. Then reconnect. For Self-host, you may also check keys in Social integrations. |
| Draft never leaves My Dashboard | On the Posts tab, confirm a future time and at least one channel. Drag the card to Scheduled posts, or open it and use Add to calendar. Check Timezone in Settings if it is right. Agent and API drafts still need a schedule time. CLI: openquok posts:status <post-id> -s schedule — see Managing posts. |
| Failed at publish time | Open it, read the provider error, fix copy or media, reconnect if the error mentions auth, and schedule again. See Posting rules by platform. |
| Connect, upload, invite, or schedule blocked with a billing message | That is a plan cap, not a product bug — see Cloud limits and Billing. |
CLI, MCP, or API 401 errors usually mean a rotated token. Generate a new one under Settings → Developers → Access. See CLI authentication.